
Production Work
Following on from research that Unreal Engine is a necessary tool for Previs, I got straight into trying to import something there.
I started off by importing in a character model, but Research showed that not all characters can be imported into Unreal Engine and that characters/rigs/assets, etc have to be Game Ready.
Game Ready means:
- Rigs must only have bone joints and blend shapes
- The bone joints for rigs must have a defined hierarchy, with a root joint, and all other joints being parented to that.
- Rigs or assets must not use exclusive Maya attributes.
To understand this, I watched tutorials from Sonali Singh which explained in-depth game-ready characters, and the methods of importing characters and even animations.
These tutorials talked about what makes a Game Ready rig and a character, the export from Maya, and import process to Unreal Engine.

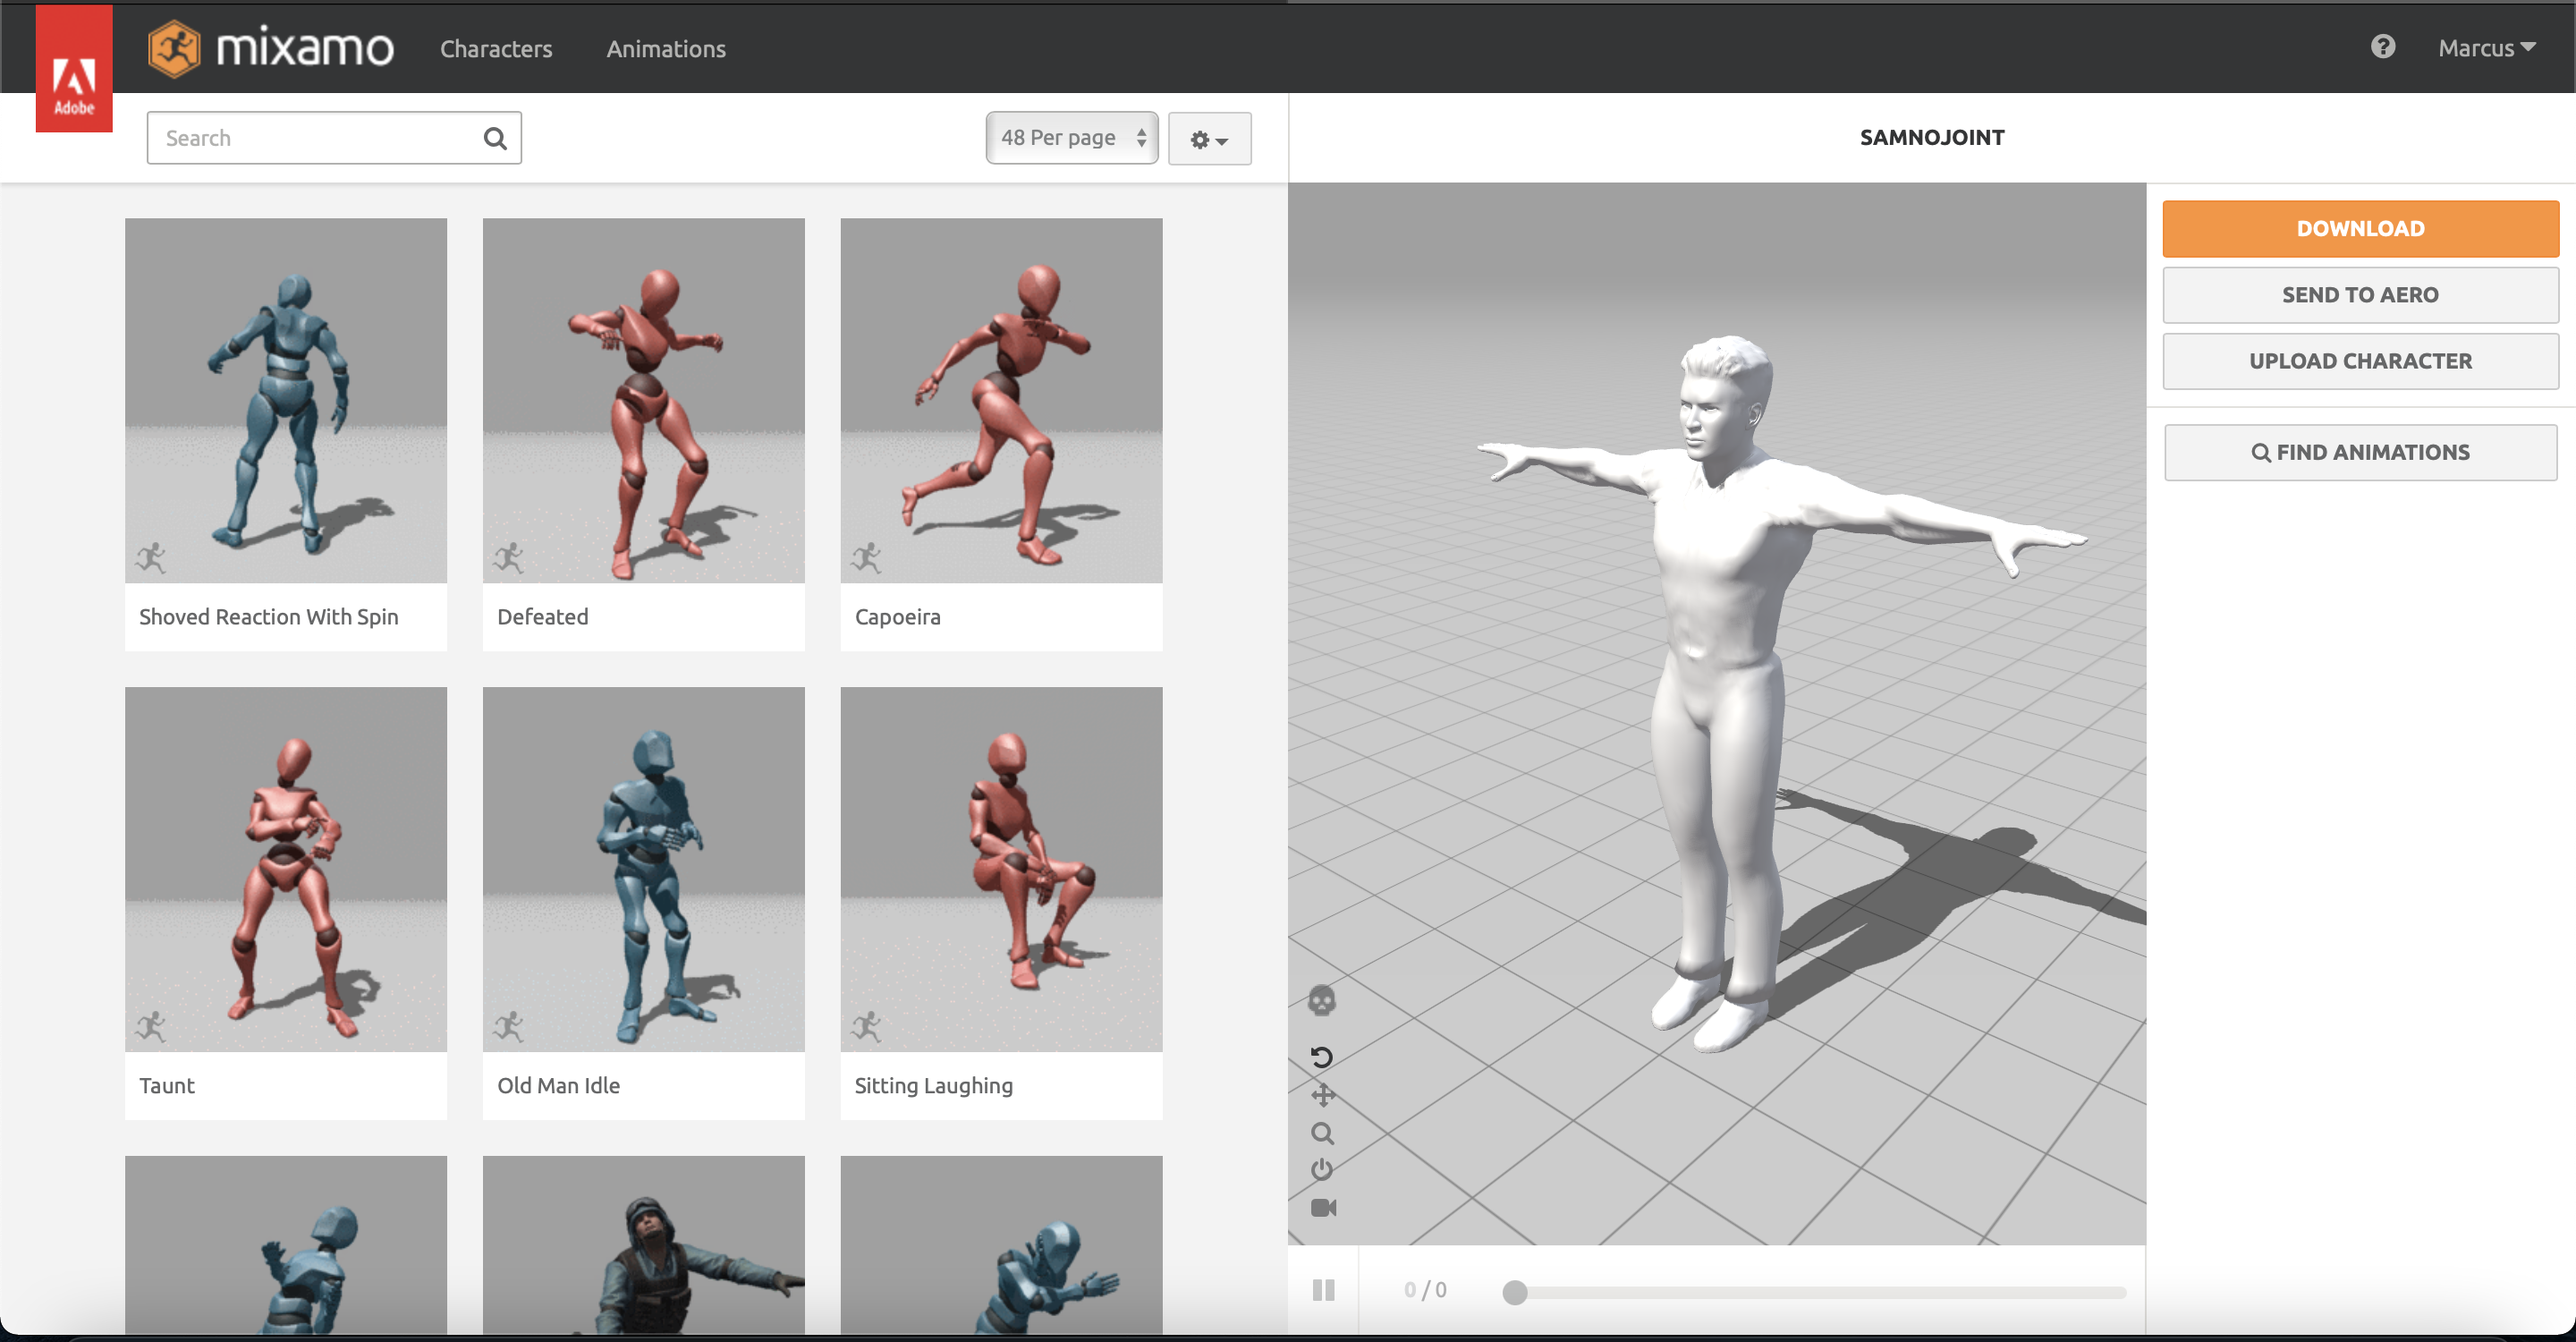
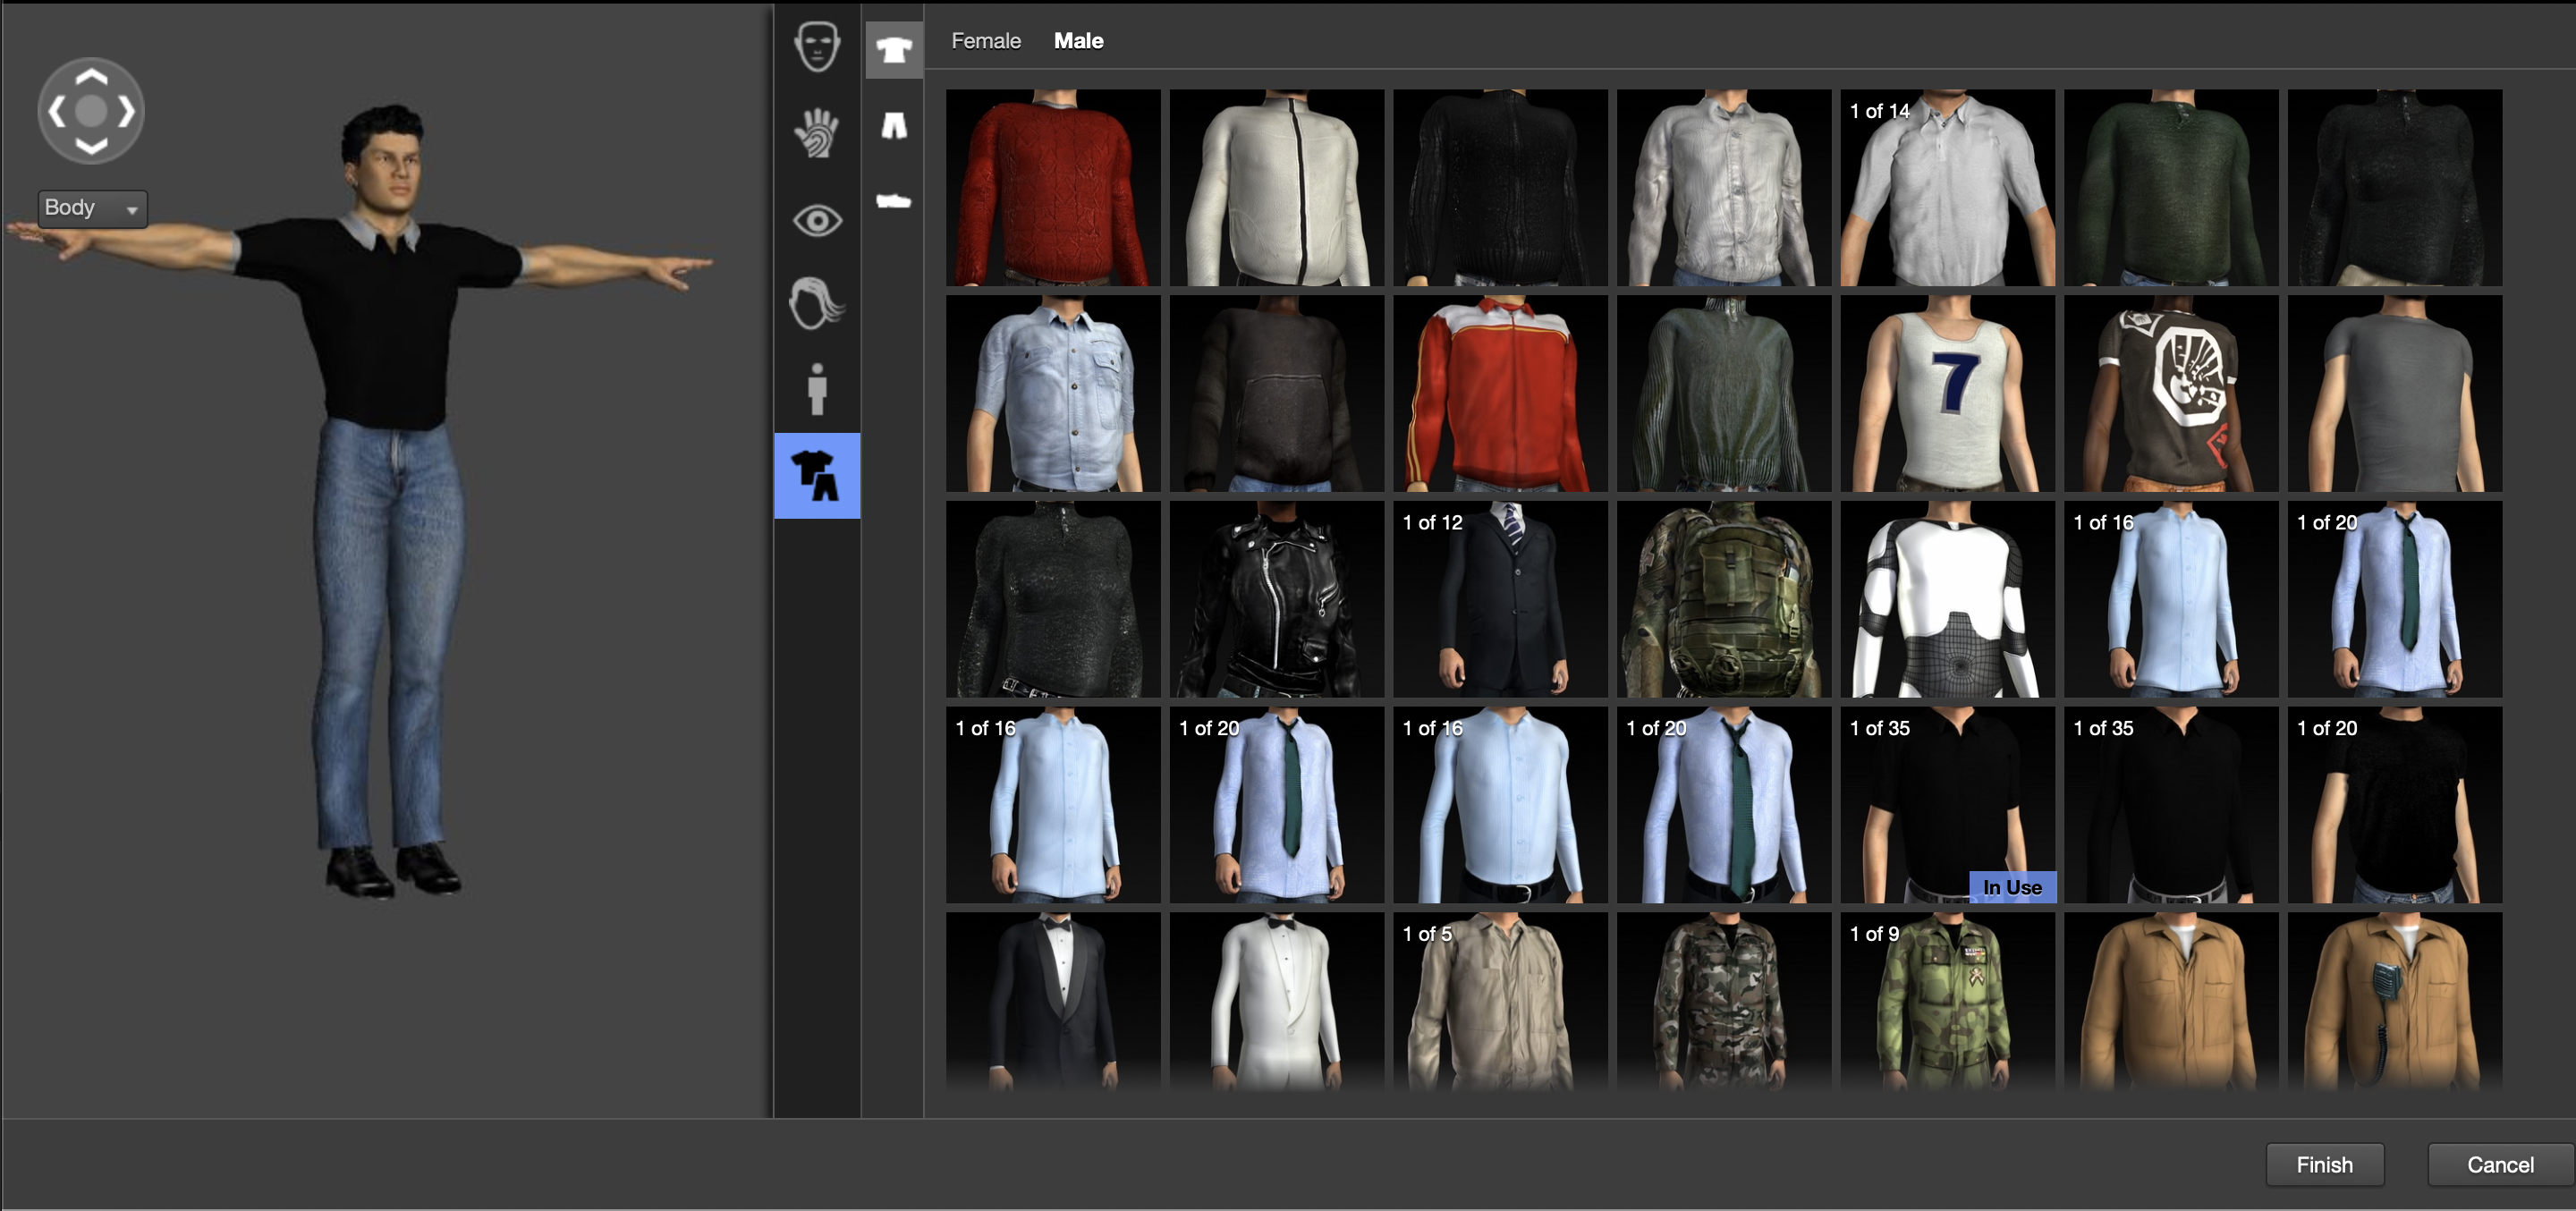
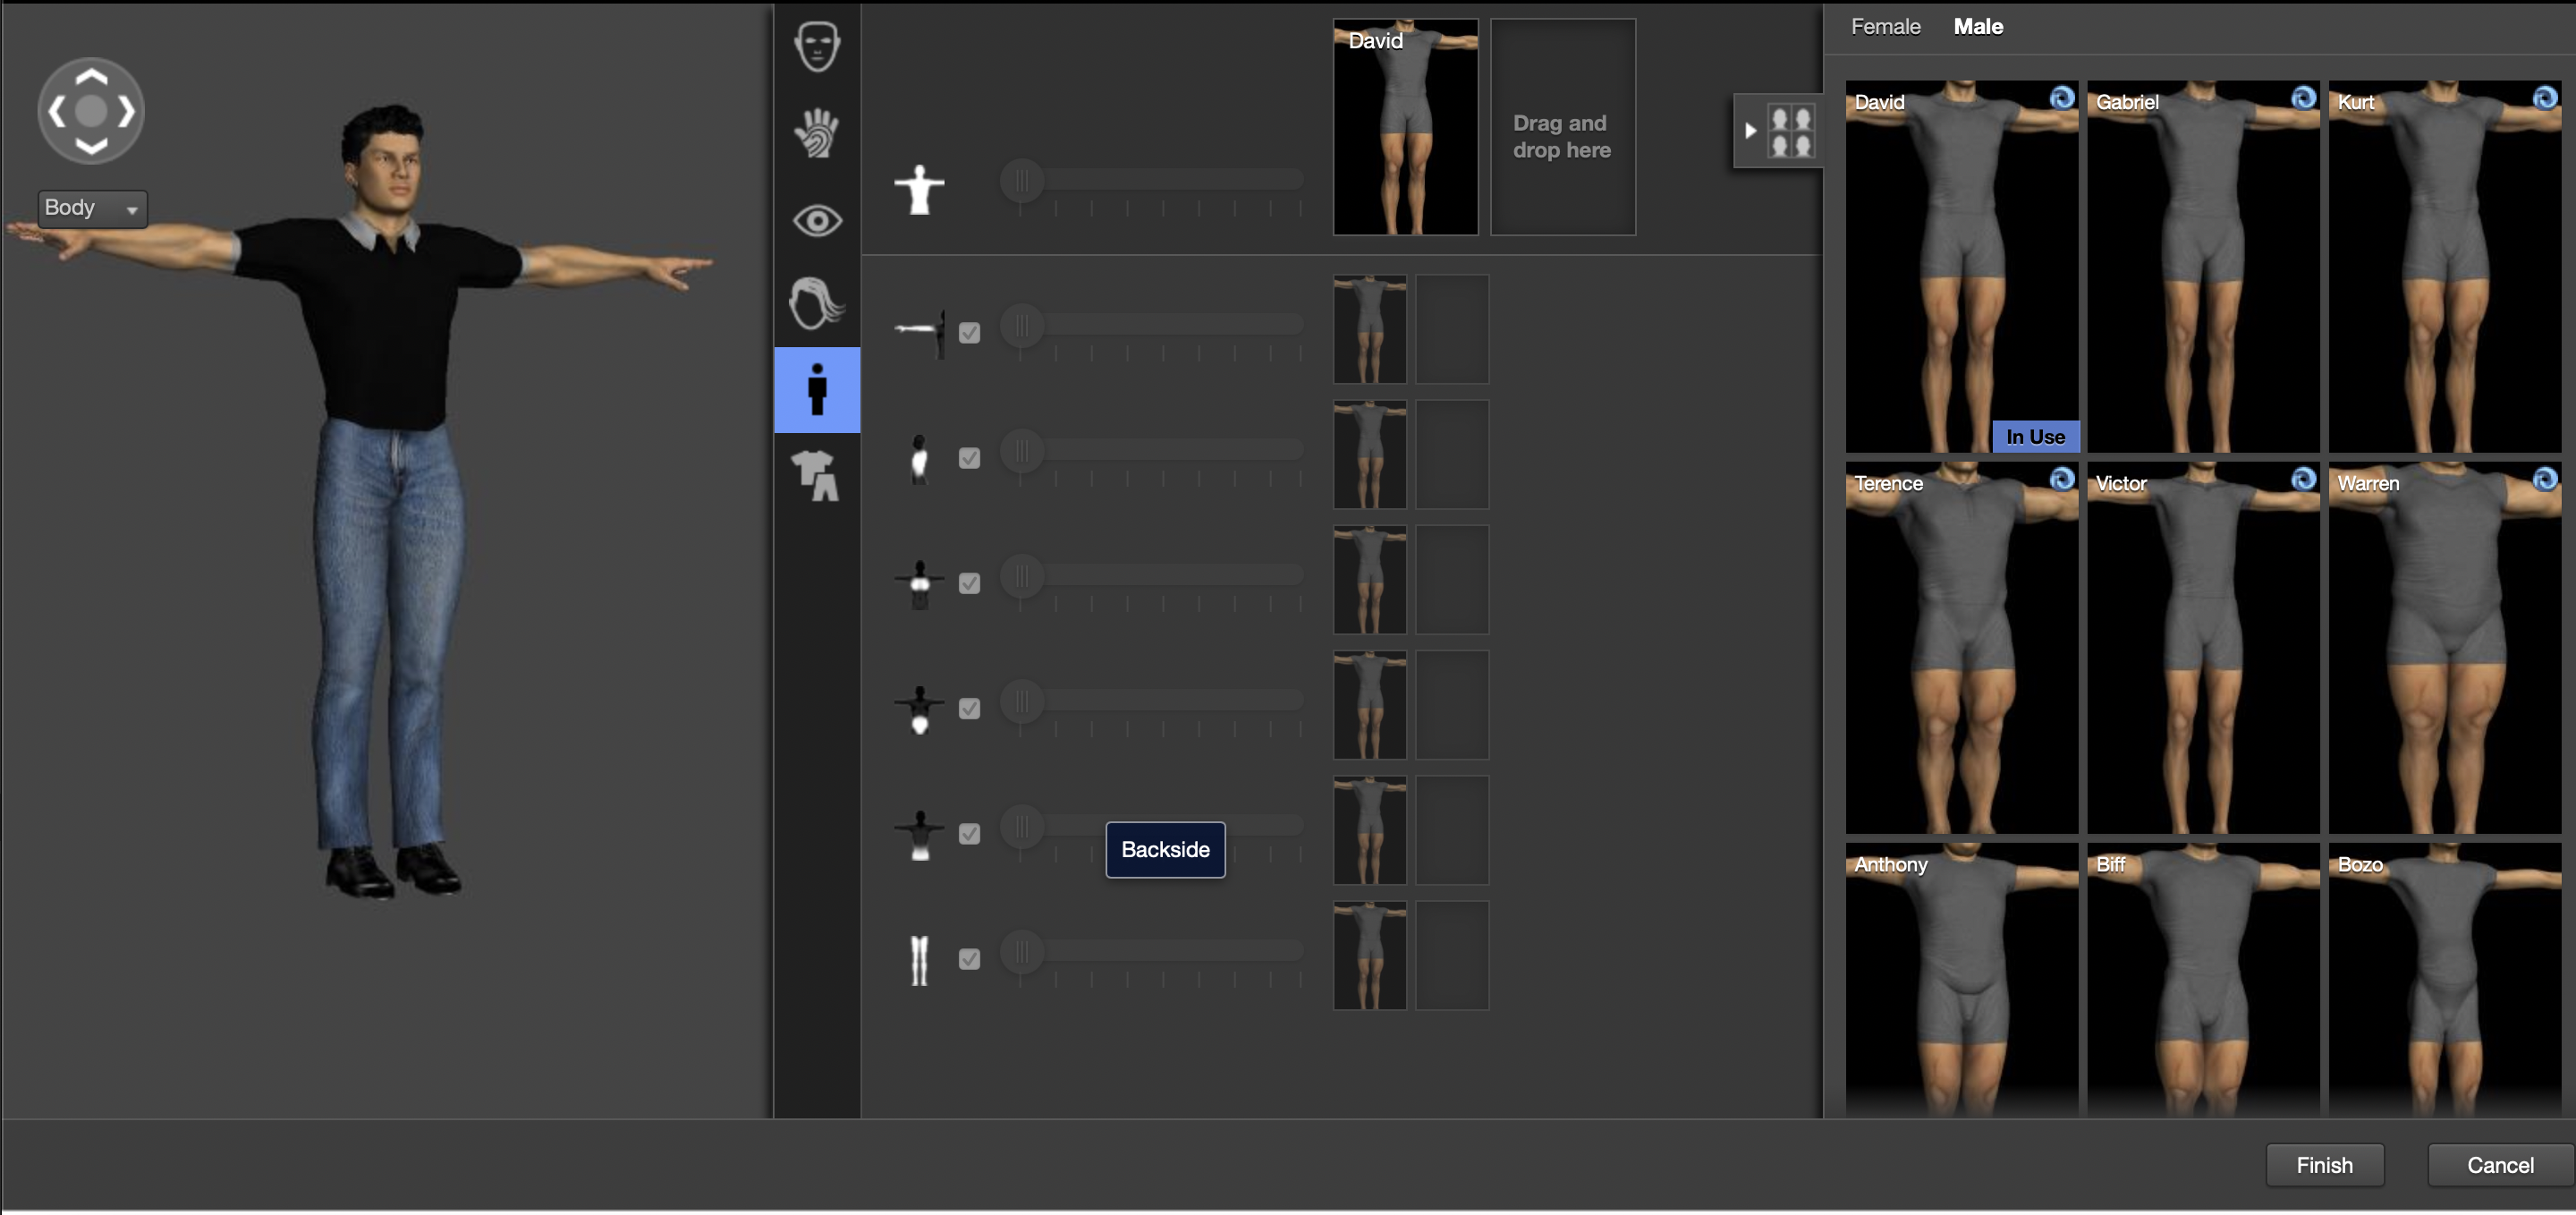
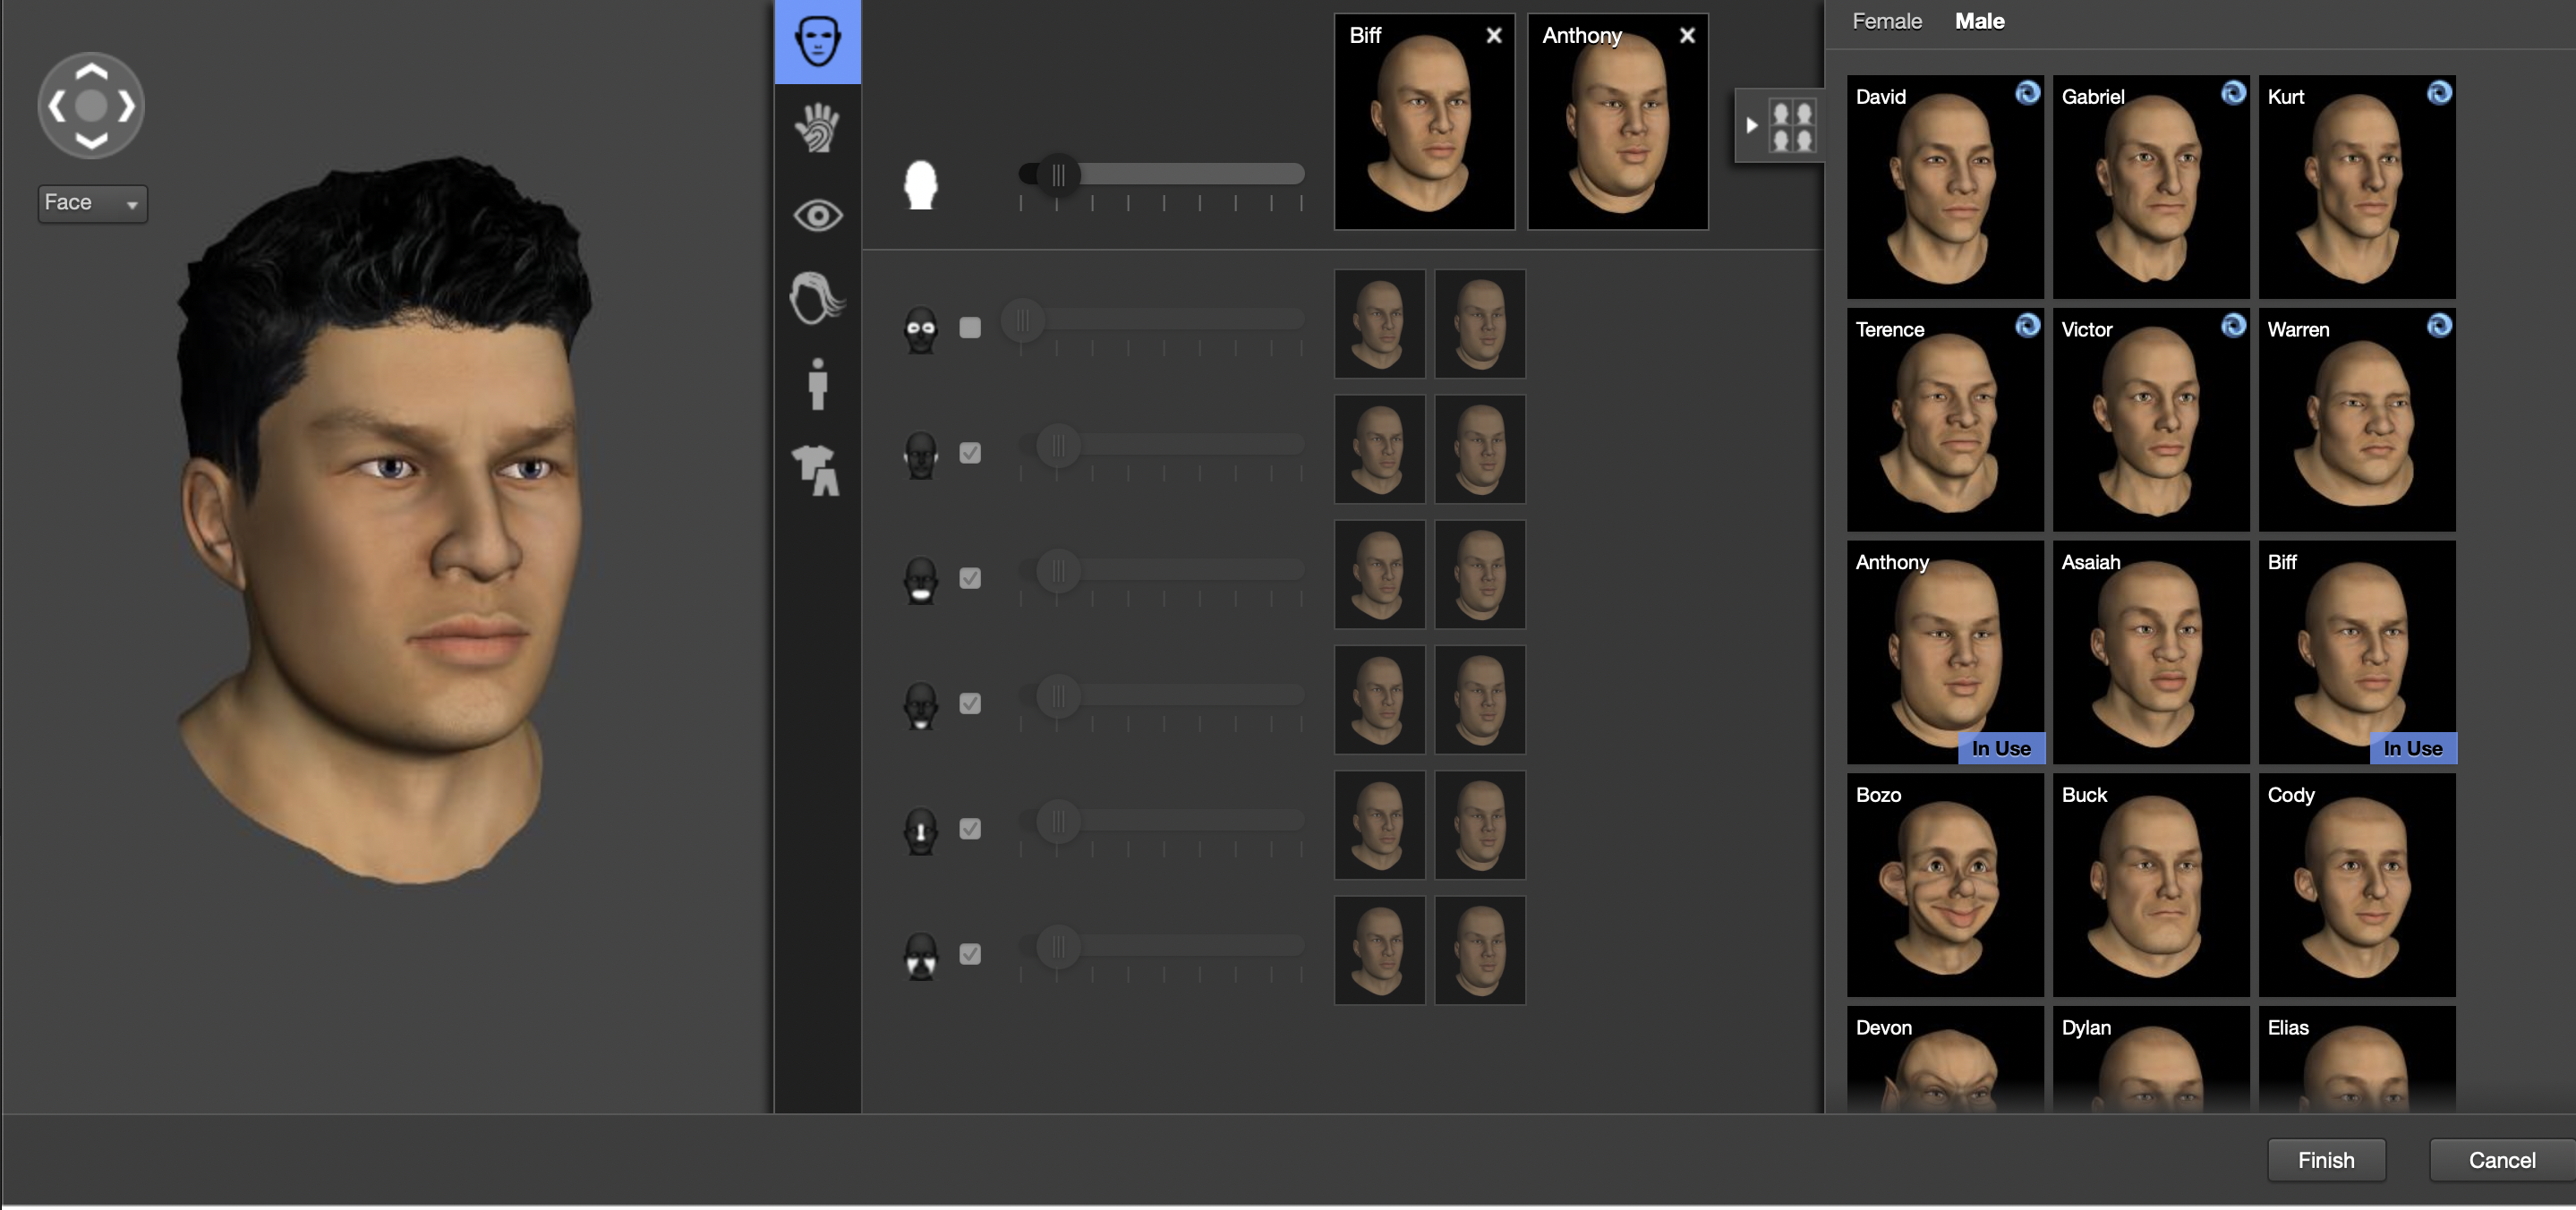
Starting with the first tutorial, I followed along using characters that I knew would work. Rigs from the site Mixamo come game ready. Mixamo provides free remade rigs, along with motion-capture animations which you can download as FBX’s, and assign them to these rigs. You can also import your own character models to create skeleton rigs, or import your own ready-made rigs to make animations.

But following another tutorial given by our lecturer, I imported a character model from Autodesk Character generator, which using it’s in built character designer, I made myself. This app gives you the ability to somewhat design basic characters really quickly so you can populate your scene with characters quite quickly.
In this process, I designed the character in Character Generator, and imported back into Maya, to delete the skeleton it has, so mixamo’s auto rigger can create it from scratch.


Autodesk Character Generator web interface. A very quick way to build up and design characters, which makes it a perfect element of a solid Pre-vis workflow. In this, you can blend shapes of pre-made human shapes, body types, and assign hairstyles, eye colours, and clothes. This is an example of a character I created for my first ever test.
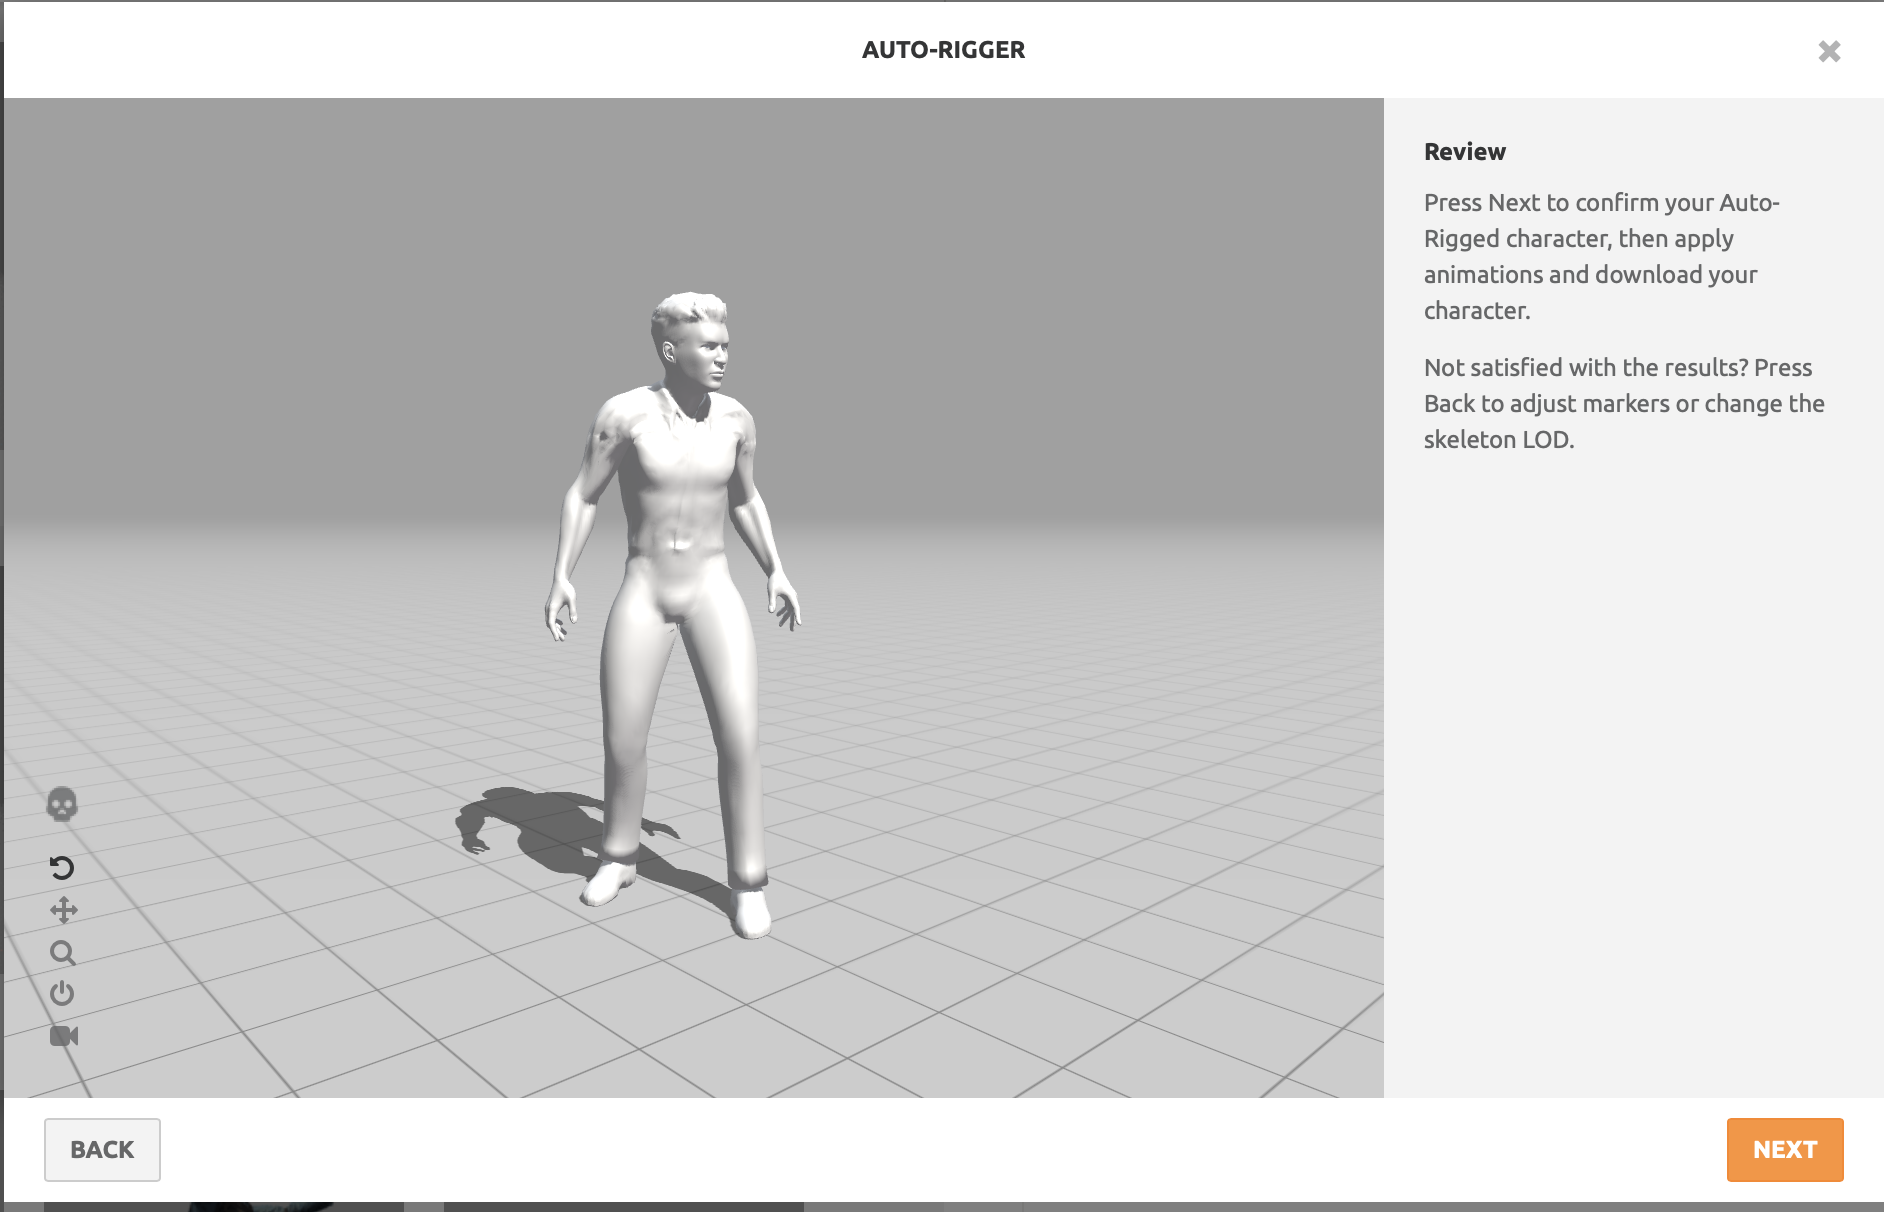
Here is the Mixamo interface. After importing the character you get a preview of the character mesh which you can then view pre-made motion-captured animation, or a T pose to download the character in the fixed position (with the mixamo skeleton structure)
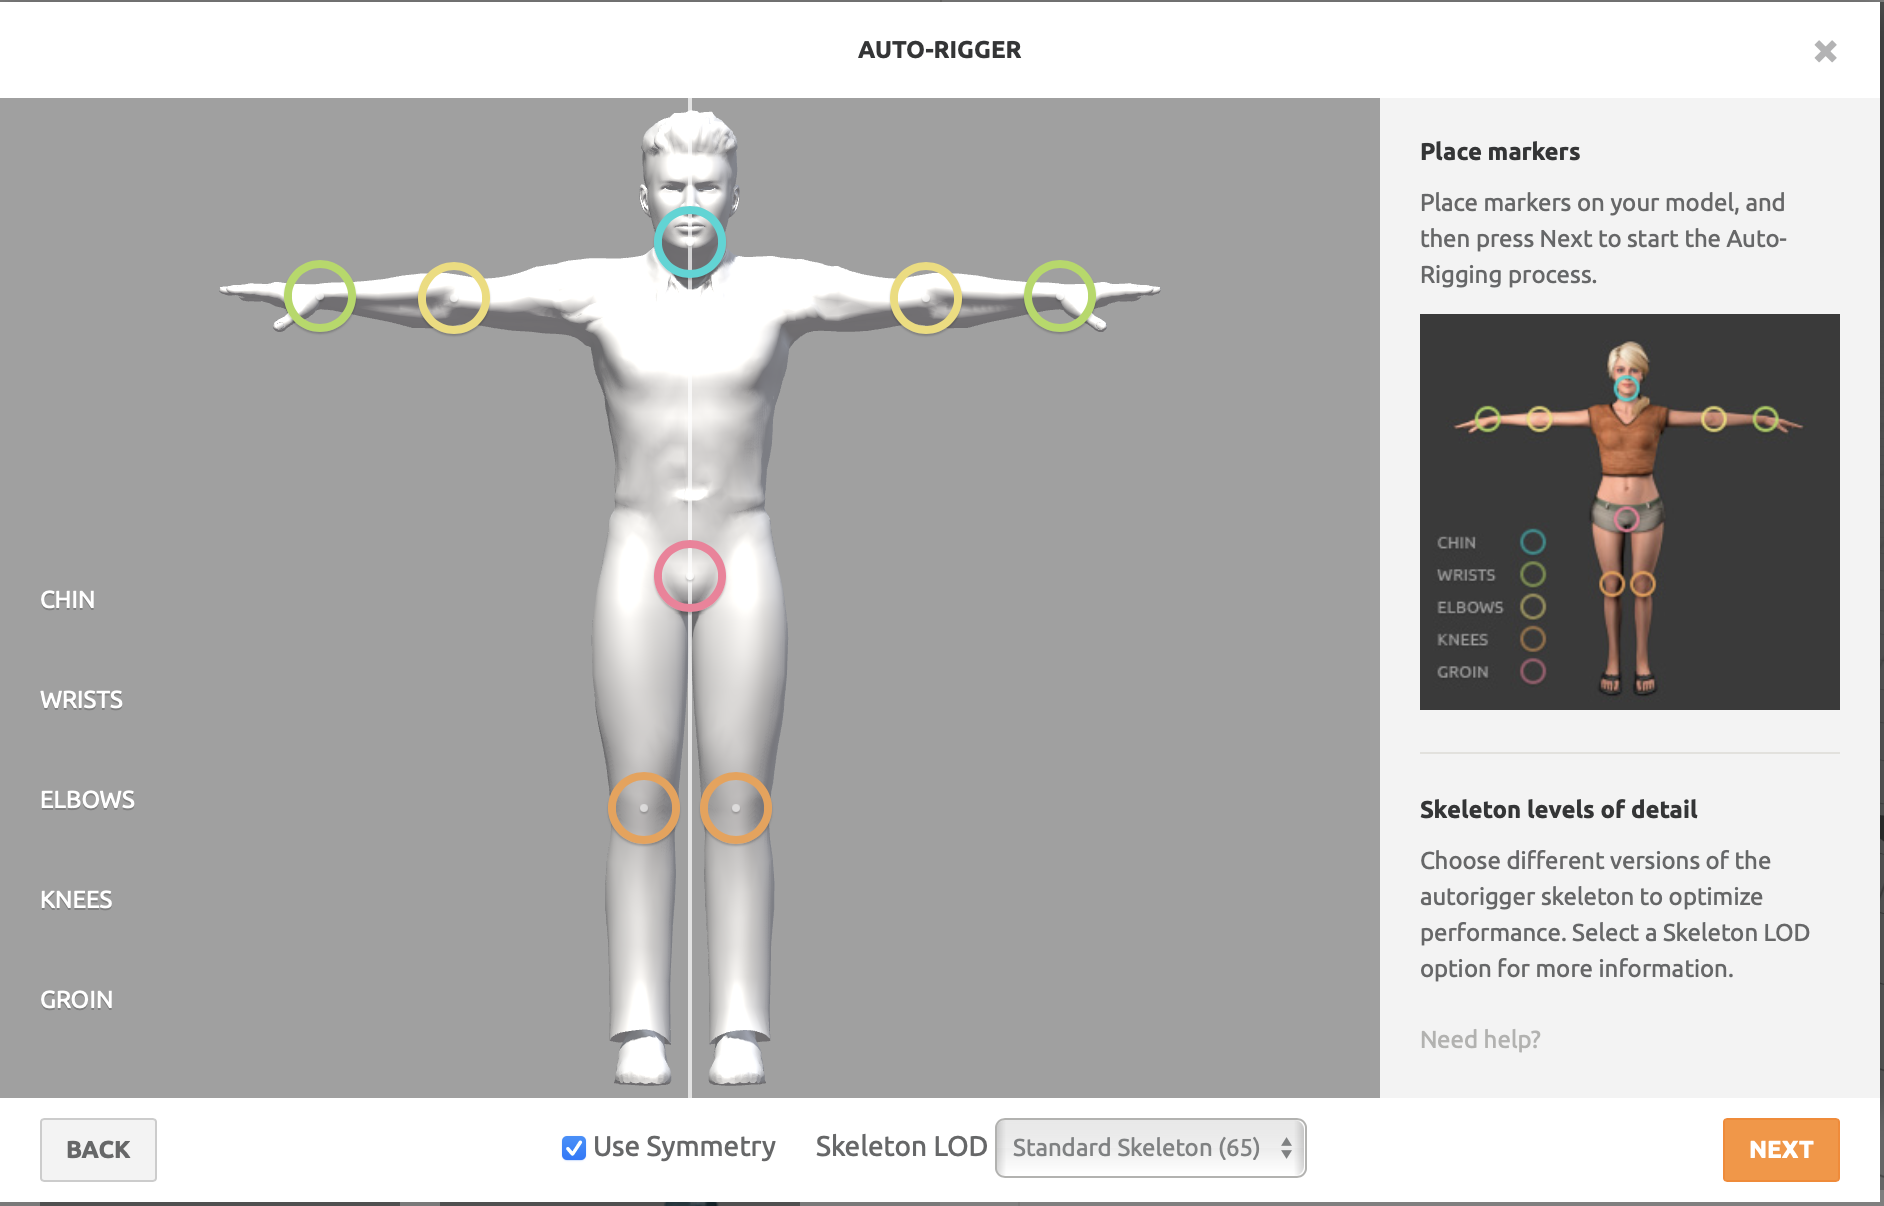
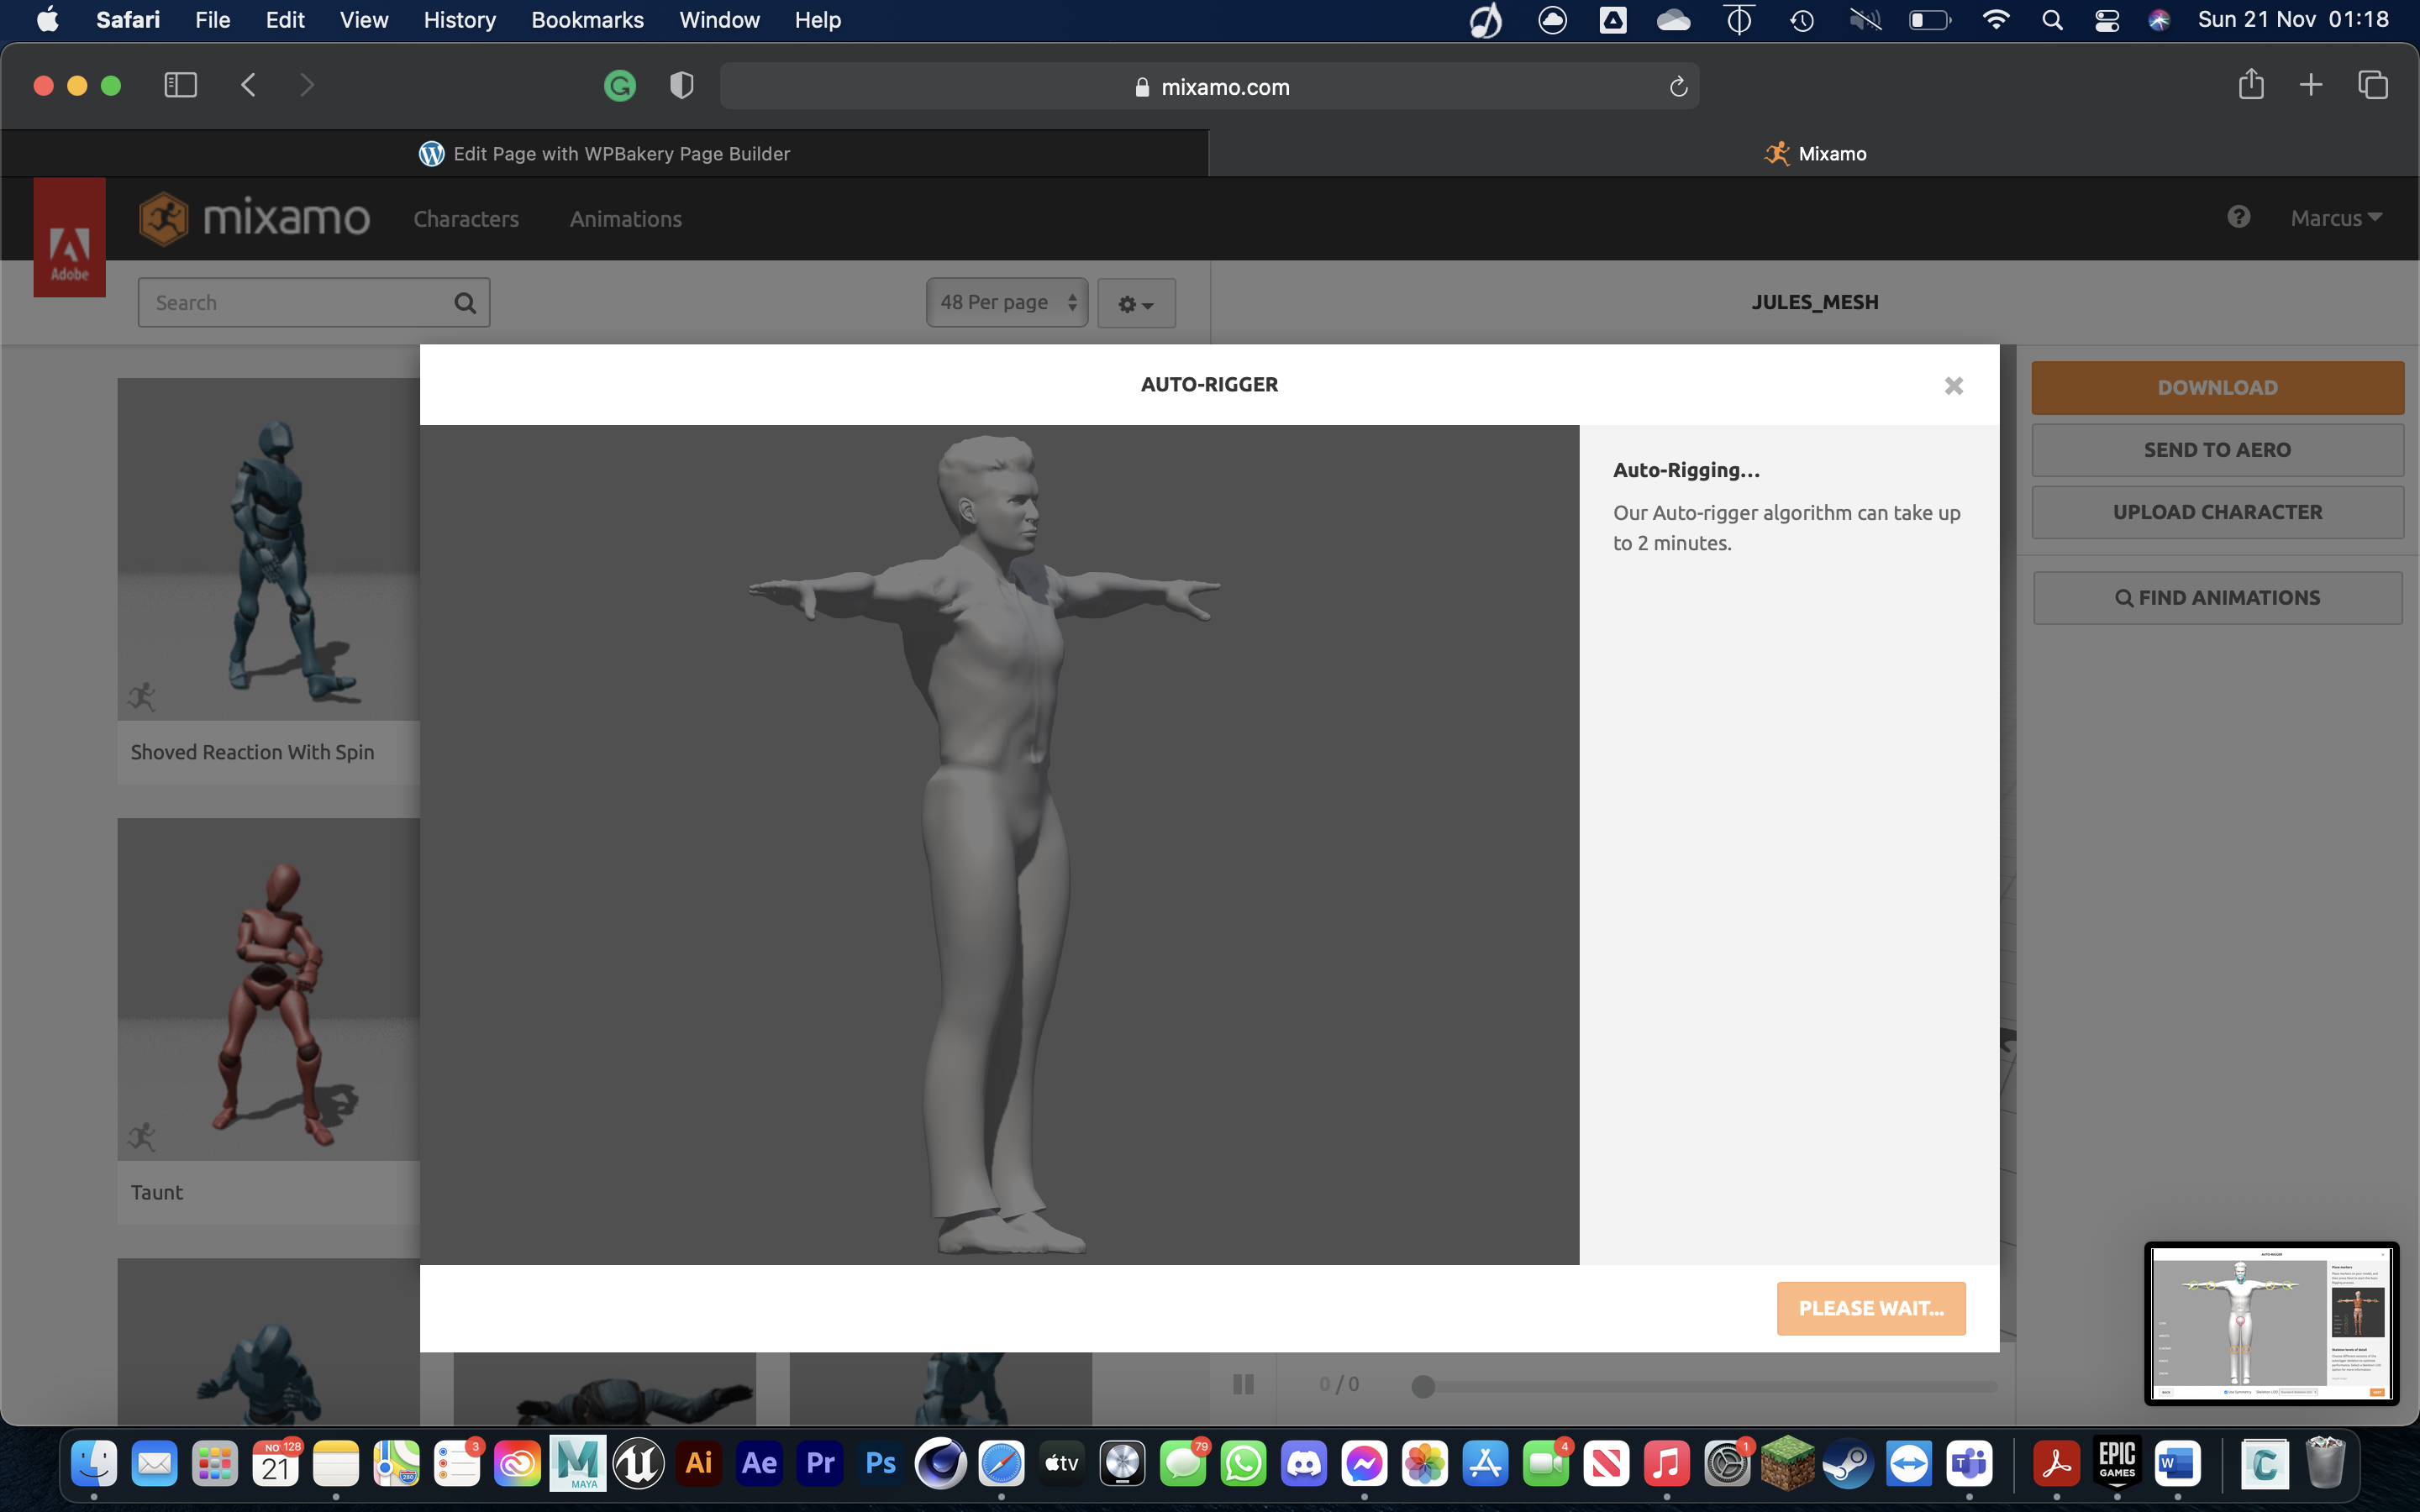
Screenshots of the Auto Rigger process. It’s as simple as importing the mesh and assigning where simple joints would go, so Mixamo can automatically create its hierarchy:


Although the Autodesk Character Generator export gives you a skeleton, the reason I chose to put the character through the Mixamo instead isn’t to download motion-captured animation, but also because there’s a way of quickly creating basic but completely functional control rigs for these characters.
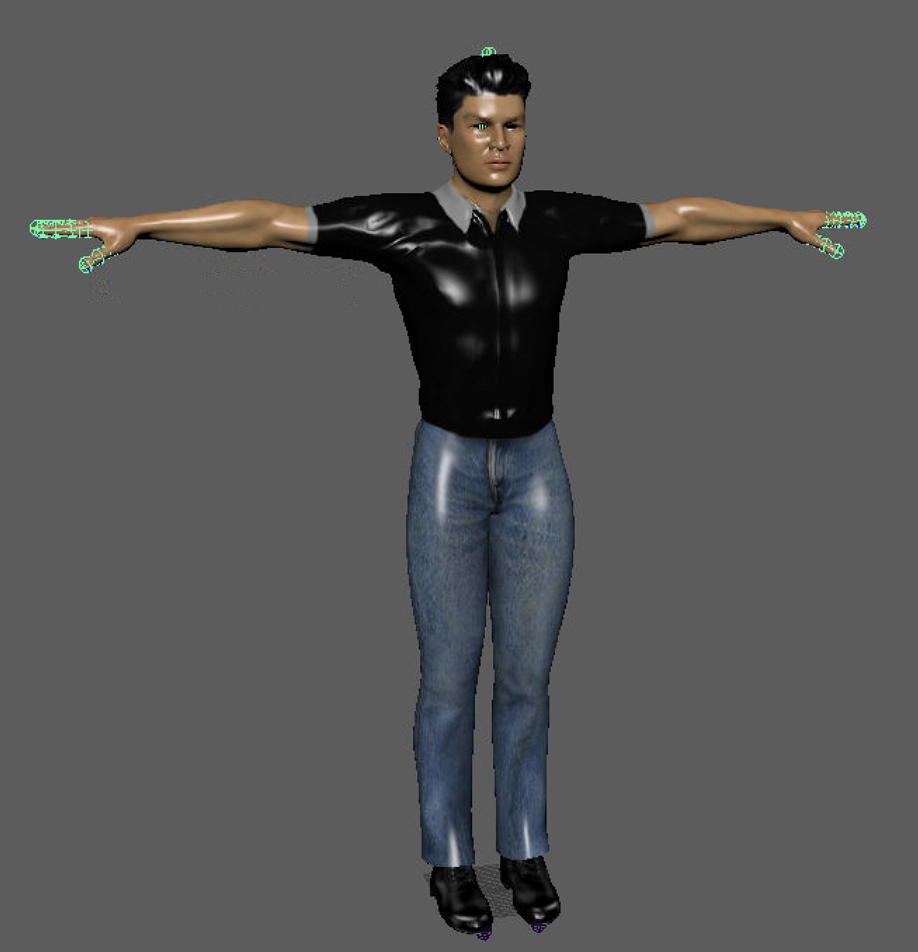
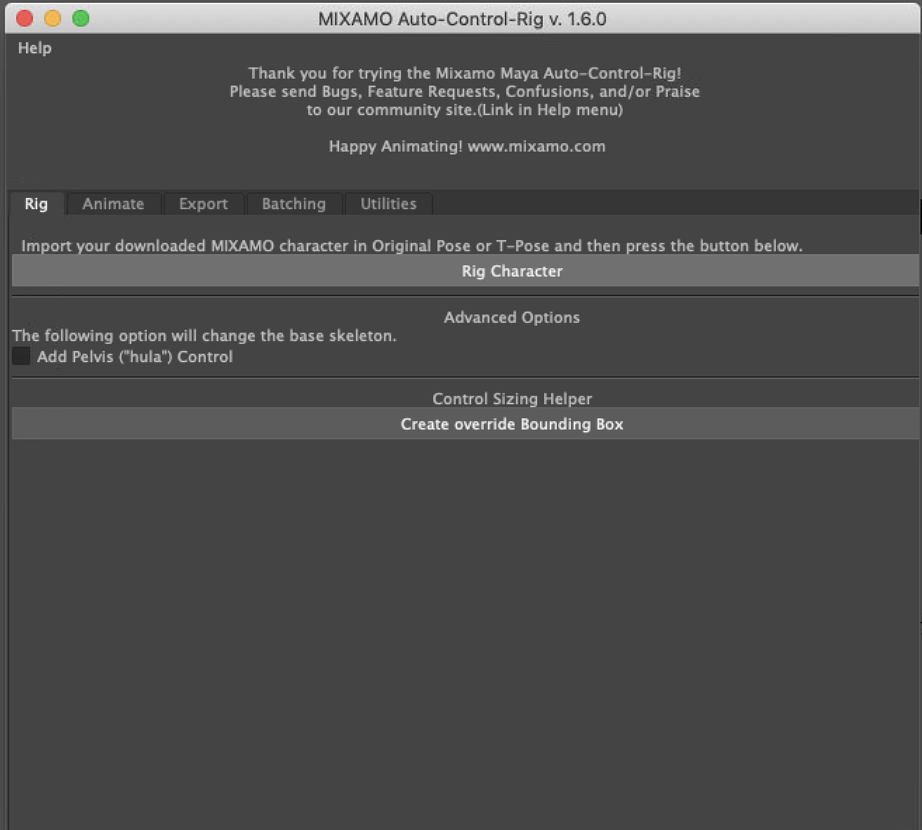
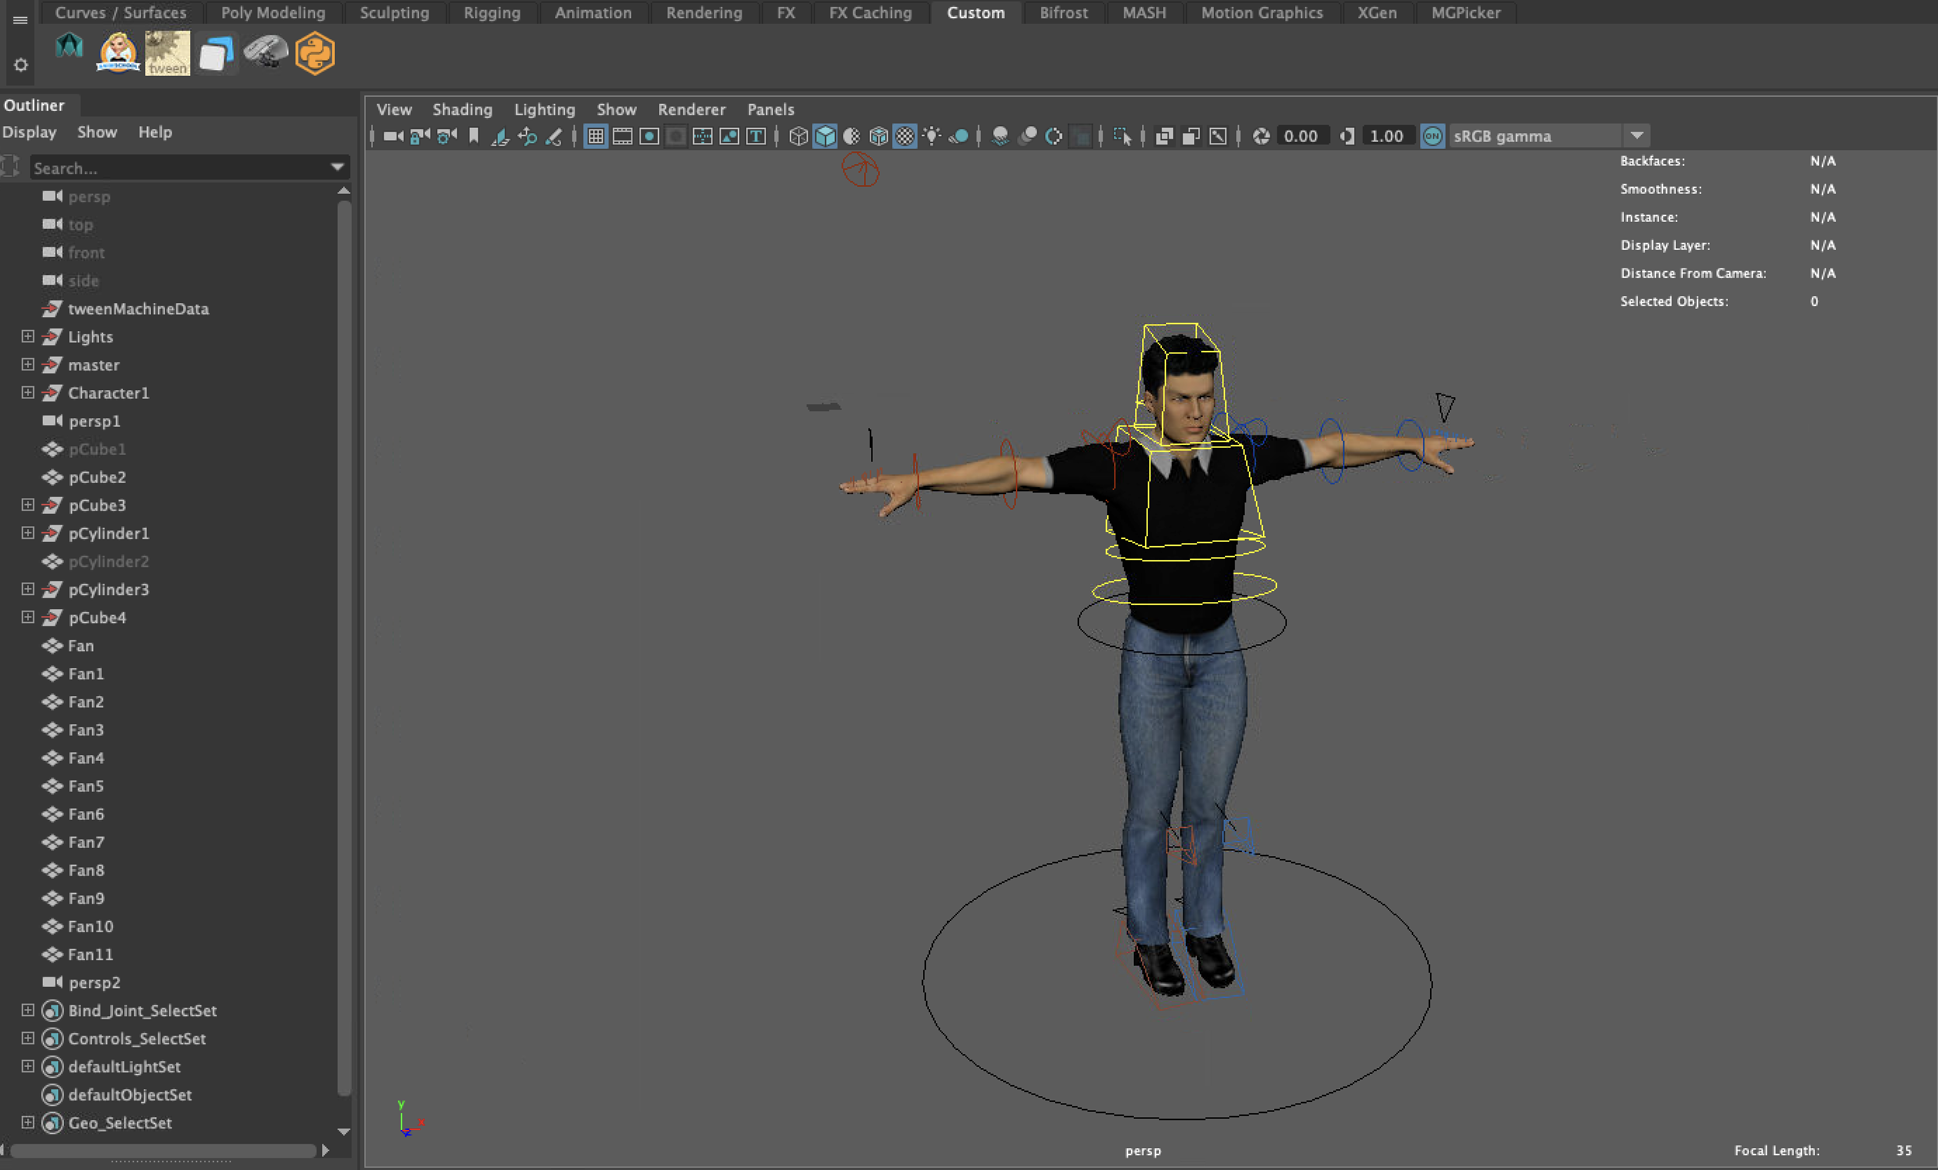
To do this, I used a plugin in Maya called “Mixamo Auto Control Rig” Where the process involves bringing in the Mixamo exported character, and pressing “create control rig”, and it’s done. A very quick, simple, and effective way of building usable custom character rigs, which then also work in Unreal.


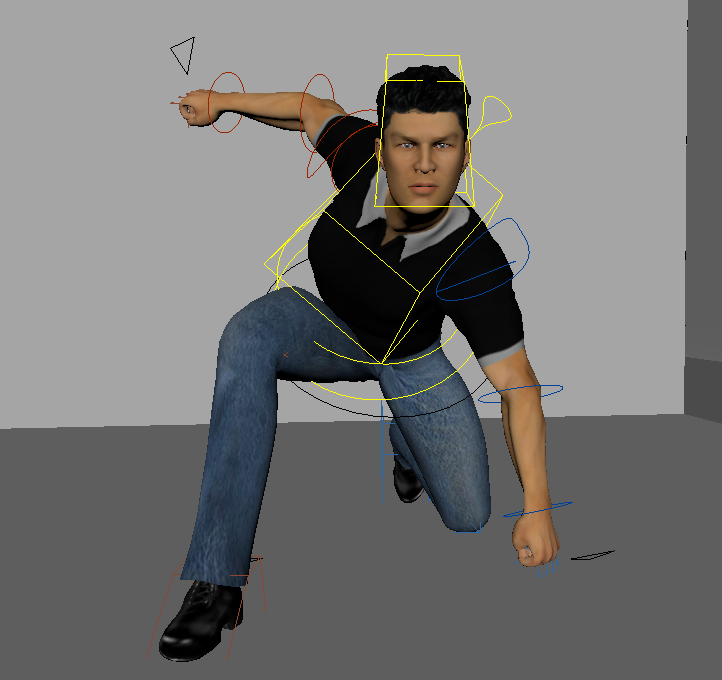
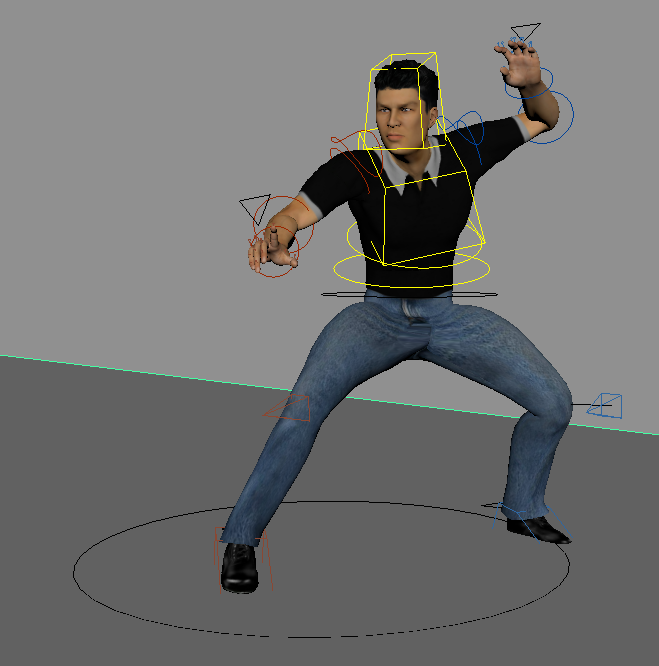
The control rig it creates provides you with enough controllers to do decent posing and animation. The rig working relies on the algorithm working pretty well to map the joints to the mesh, but for Previs quality animation in the same style as Previs from The Third Floor, it’s pretty solid. I have had minimal issues, and this first test worked very well.
To test out the rig’s quality I did some posing and a very basic animated run cycle:


The next step was the Unreal export / Import. To export characters for Unreal, you again use FBX’s. An important step of the I followed tutorial was to have the skeleton and the mesh exported separately, but the skeleton has to be un-parented from the mesh in Maya’s outliner. This means you can check that the skeleton has the right hierarchy so Unreal can read it.
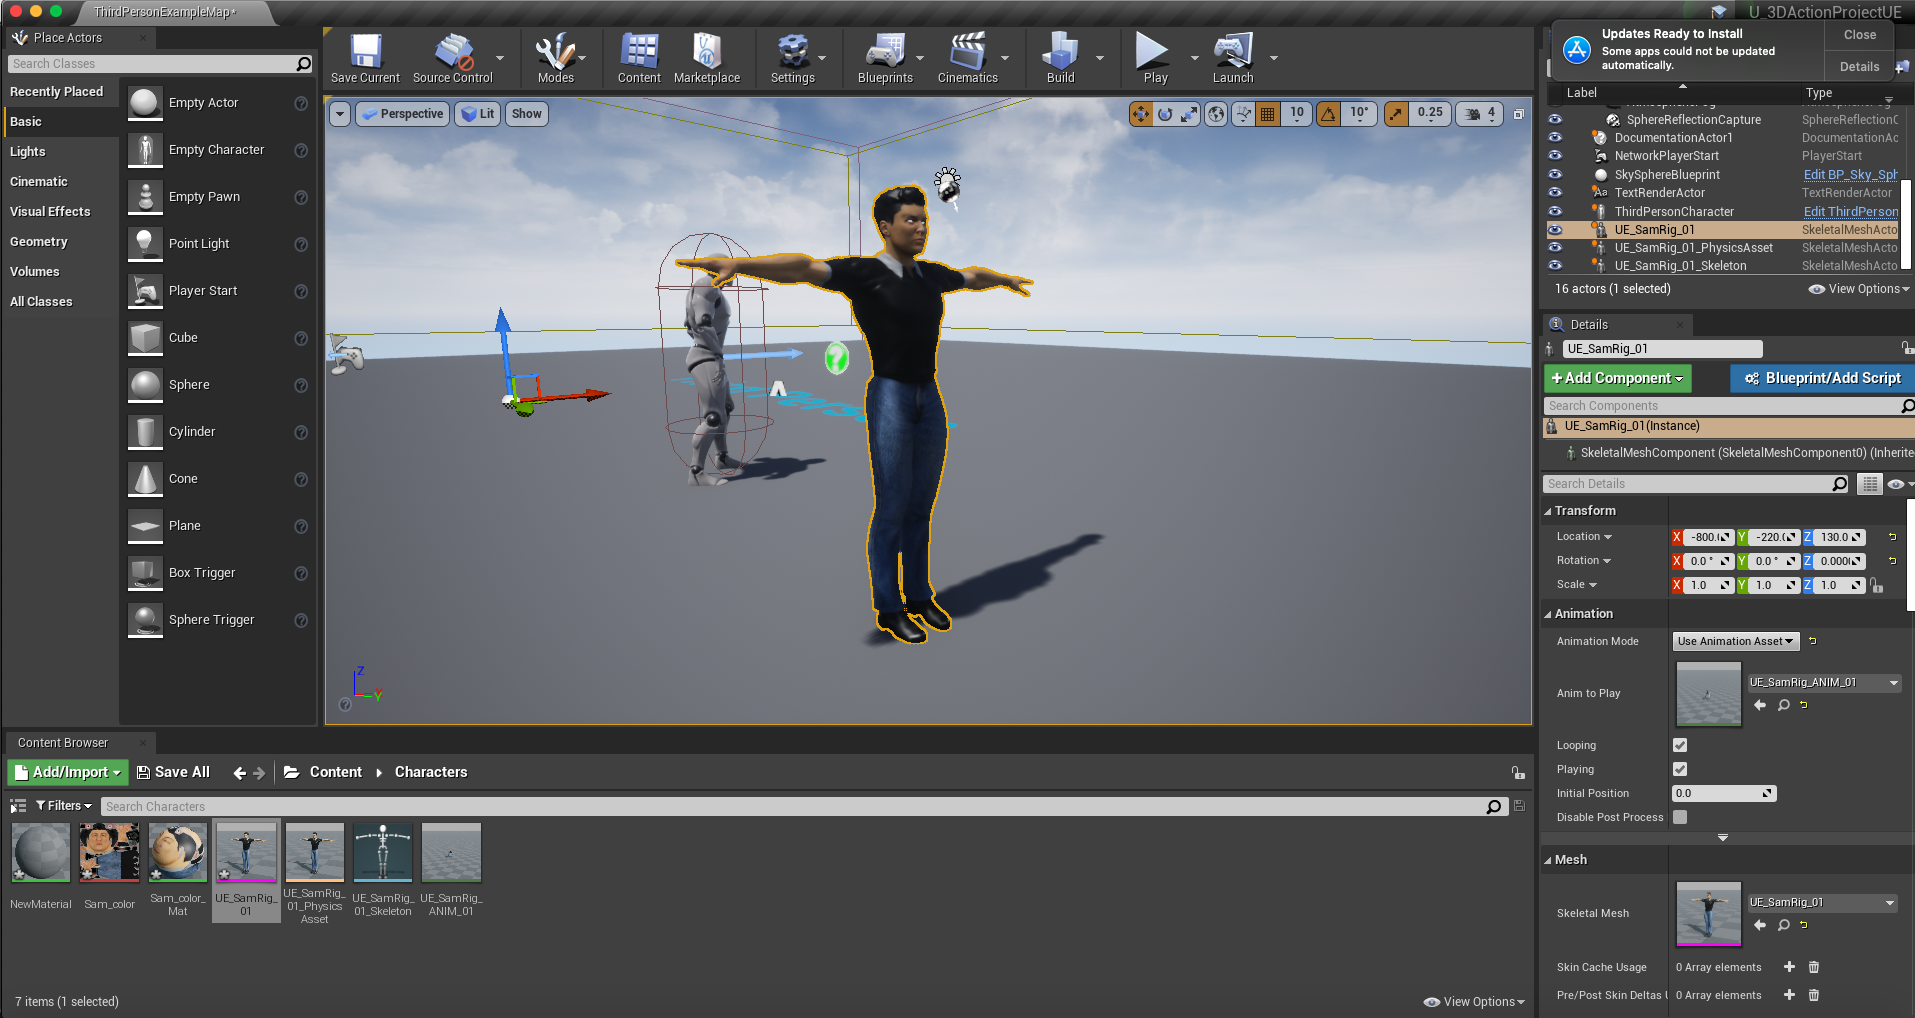
Then I brought the rig into Unreal Engine, using the import function.
There were some settings to adjust, but from this exercise, I gained a greater understanding of how characters and animation work, as well as how Unreal characters (or FBX’s) have skeletons and mesh. This means you could export character meshes and skeletons separately and have a bunch of different meshes and skeletons in your project. Animations work by being assigned to skeletons, which can then be assigned to meshes.
Here is my first look at an import of the Mixamo character into Unreal:
The import evidently also imports all necessary textures too, and these Mixamo characters only having a single texture, which can be seen in the content browser.
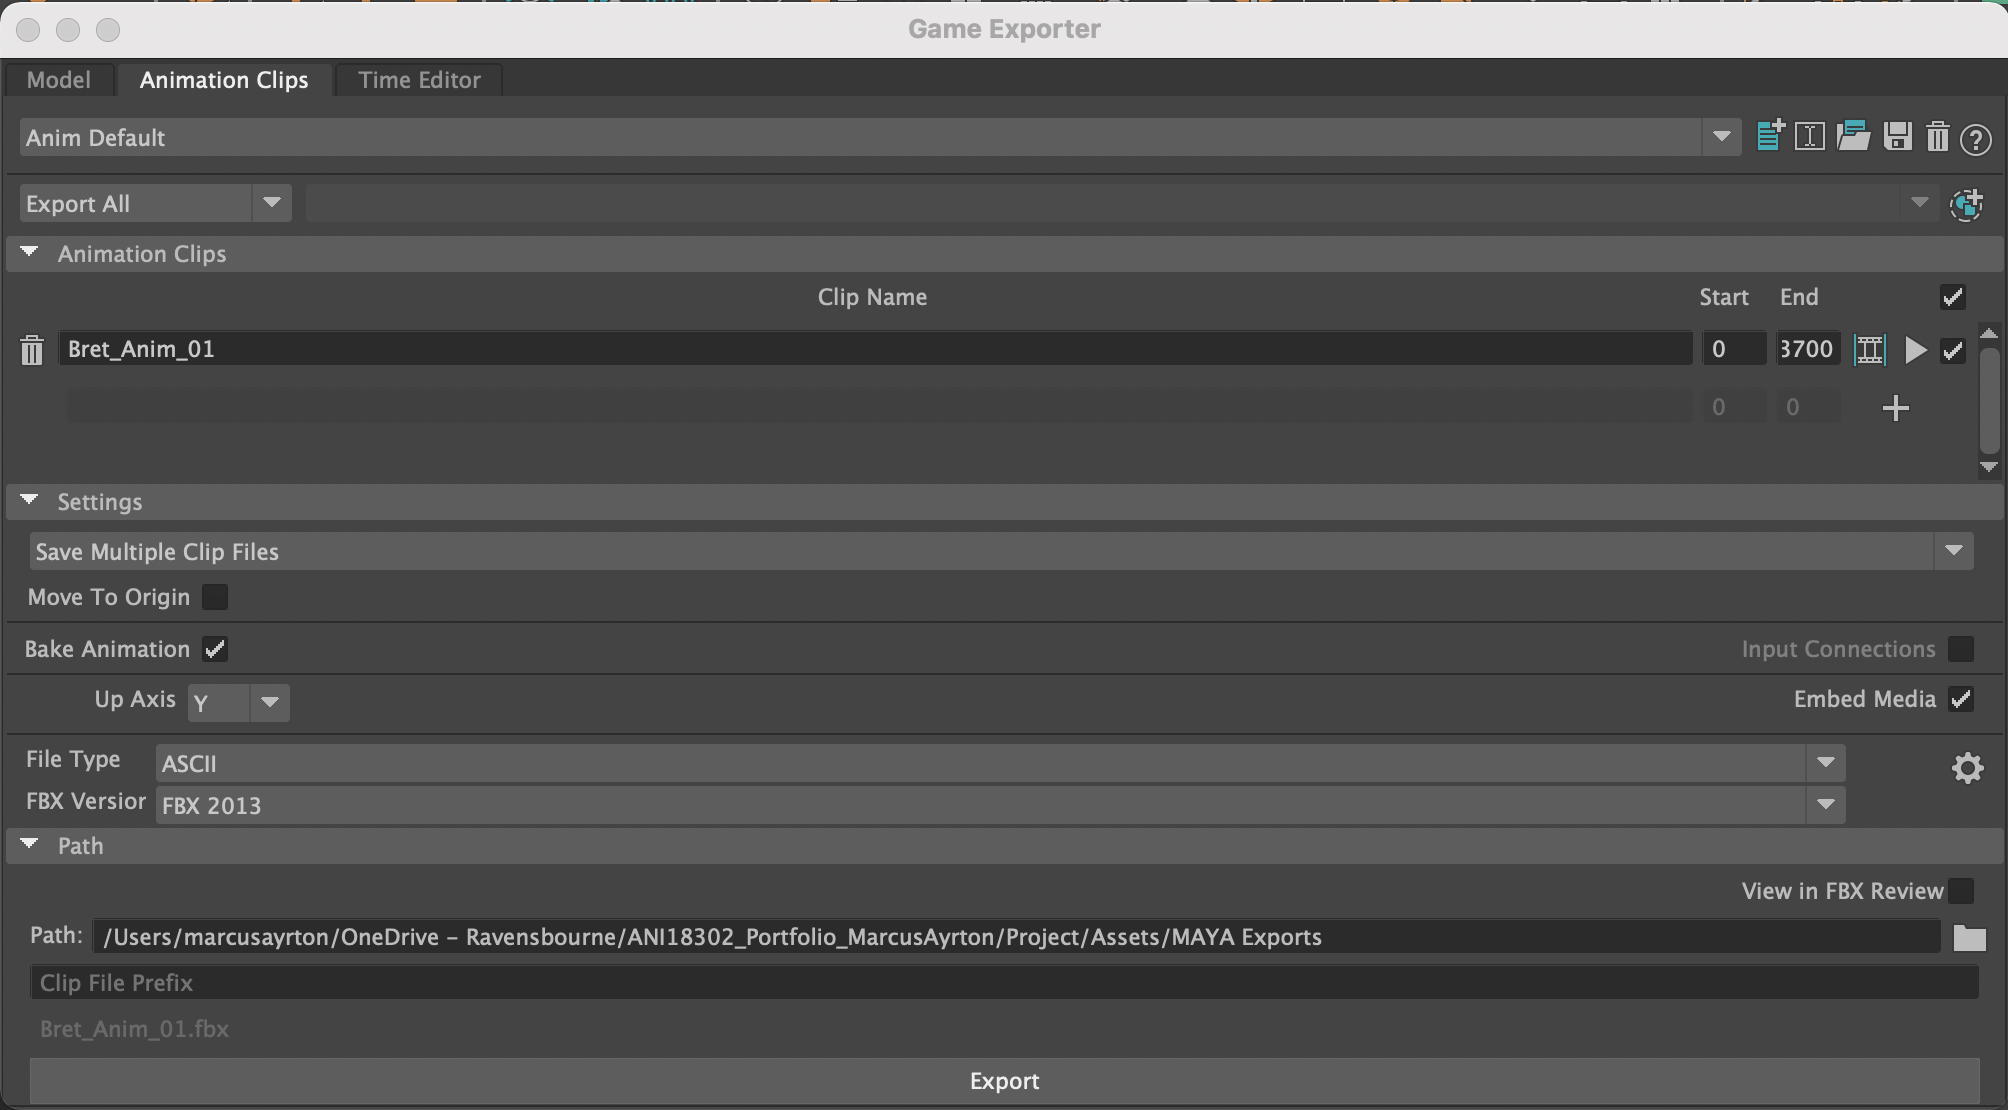
Animations are imported into this browser as separate FBX Animation files. Following the second tutorial above, after importing the character, you can select just the skeleton in Maya, and then the export window gives you animation import options, such as frame rate, and the designated animated frames to import. The recommended way of doing this was via a Game Exporter, window, which has a really easy-to-use interface.
When importing them into Unreal engine, you can preview the animations on a character/skeleton to check that the export from Maya worked. There is also the option of using another piece of software to preview called FBX review, but because Mixamo rigs hide the joints, this just shows as blank.
After previewing in a window, I imported it into the scene, and ran around in a default Third Person Scene built into Unreal Engine, to watch the animation applied to the character:
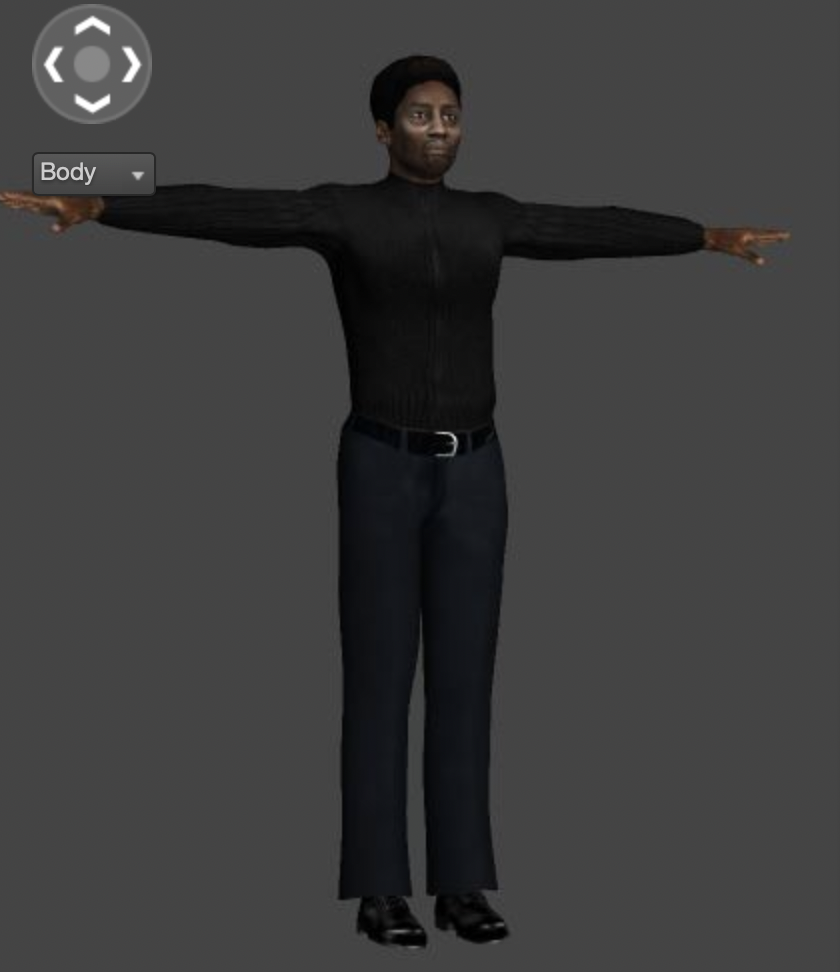
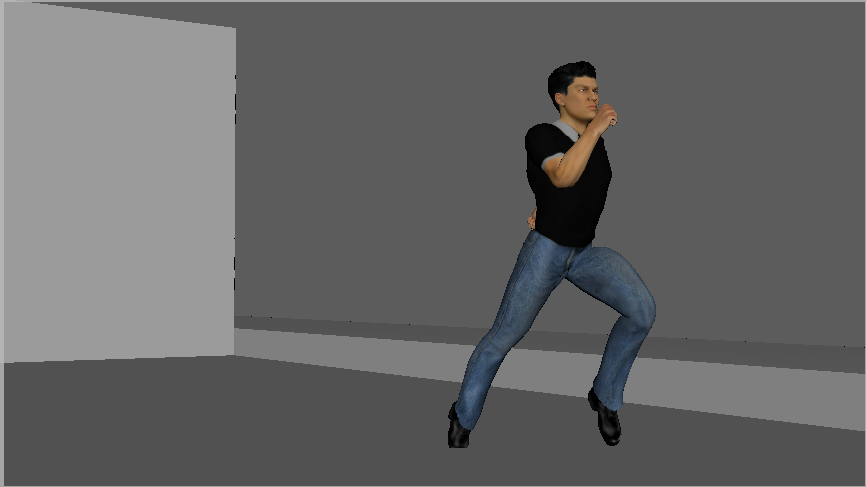
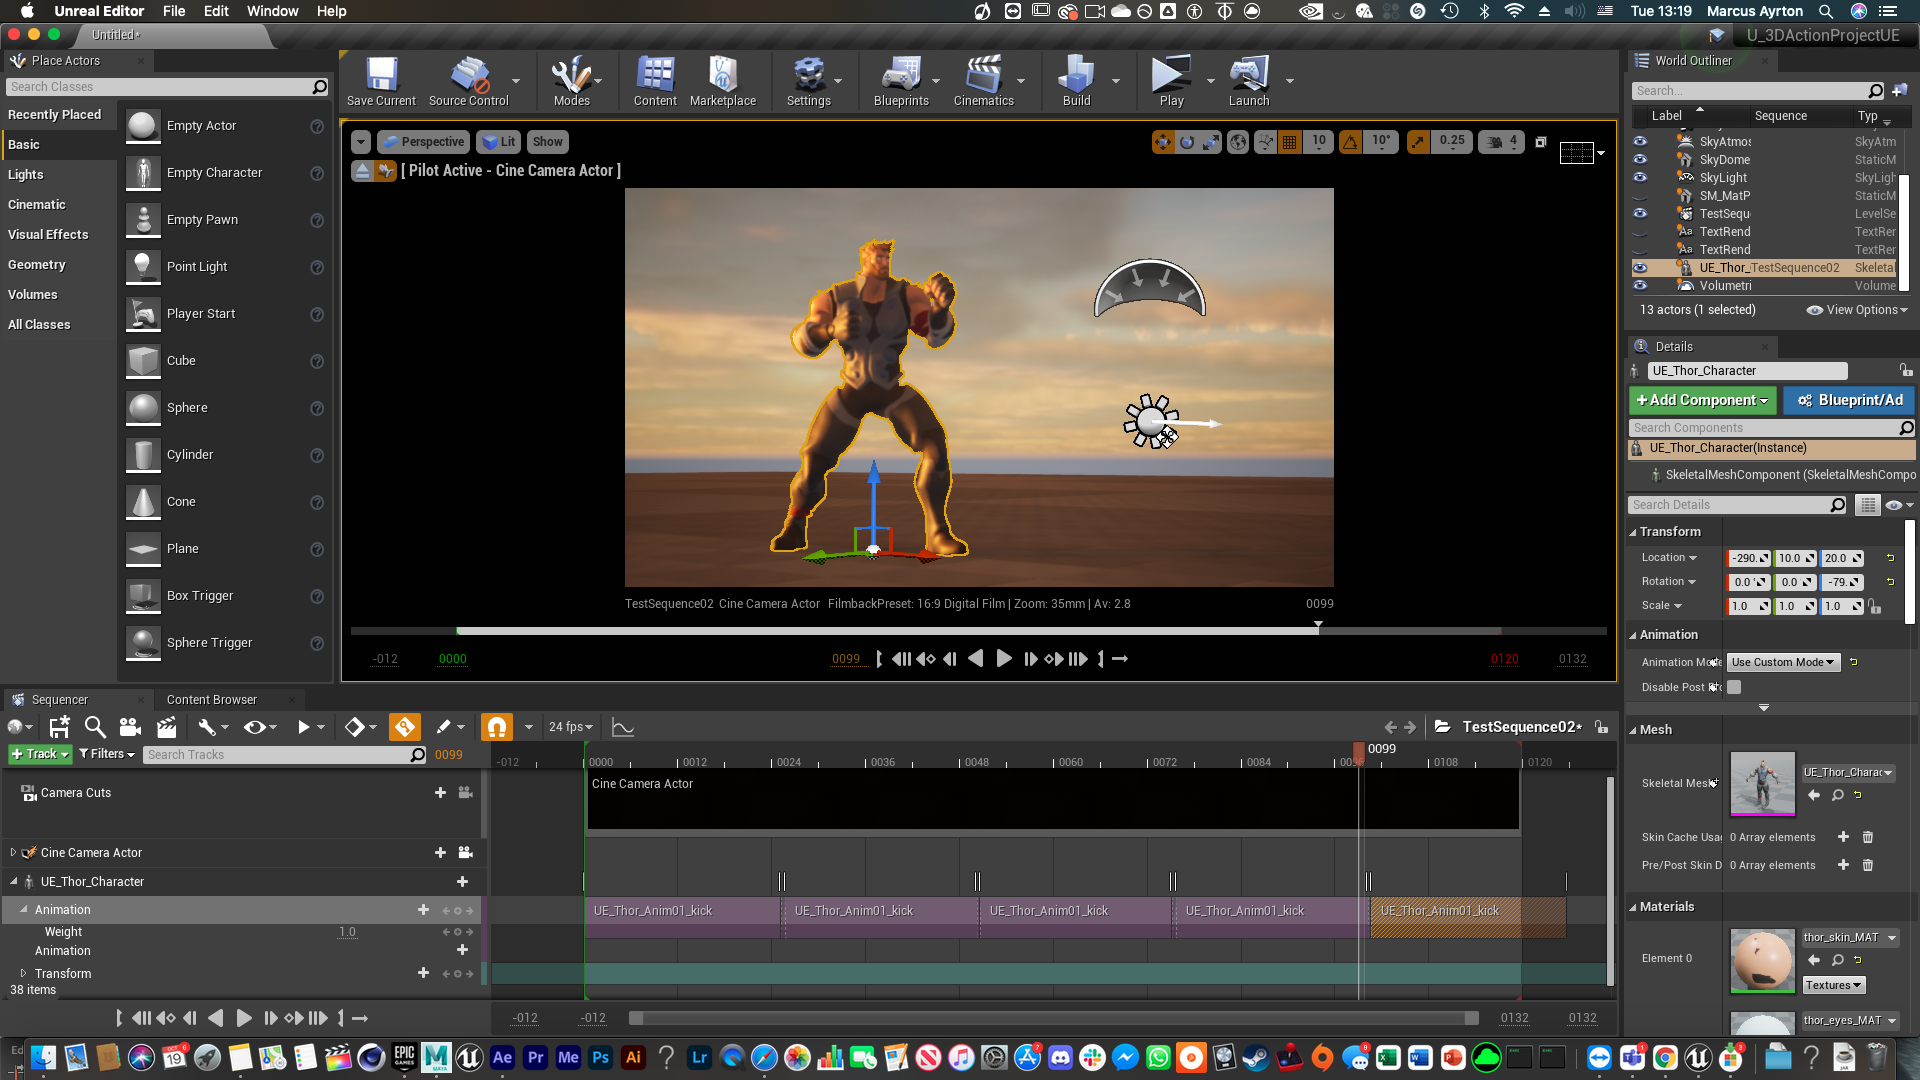
After successfully understanding the process of creating and importing characters, and animations, I tried it with another character, one that may have more issues. This character was just a Thor animation rig, one that isn’t necessarily out-of-the-box game-ready but may already fit the criteria of game-ready.
So I took the rig and spent about an hour animating a Muay Thai kick from reference, which was a very simple animation that could be looped.
So following the exact same instructions, I imported the character and the skeleton as 1 FBX, and then separately the animation as another.
There was an issue however where the textures were imported, but as proxies, so I had to manually remap all the textures to the according to files that came with the rig, something a lot harder to do with advanced animation rigs vs single texture Mixamo rigs.

After getting the characters in and doing the animation, I wanted to figure out how to bring in cameras, and create an edited sequence that would be used for Previs.
So for this, I followed another tutorial, which showcased the use of the cinematic camera sequencer, and how to use this to create edited camera sequences:
Using this tutorial, I created a cinematic sequence and used this space to create cameras. Without any added lighting or effects, I was very impressed with how the render looked, and creating a camera feels more like I’m creating a real camera as opposed to Maya. The depth of field looks extremely realistic, and the default motion blur settings look like I’m filming an action sequence.
I really loved viewing the editor as it features everything I like about the camera sequencer that’s built into Maya, as well very similar to the interface from After effects that I’m familiar with.
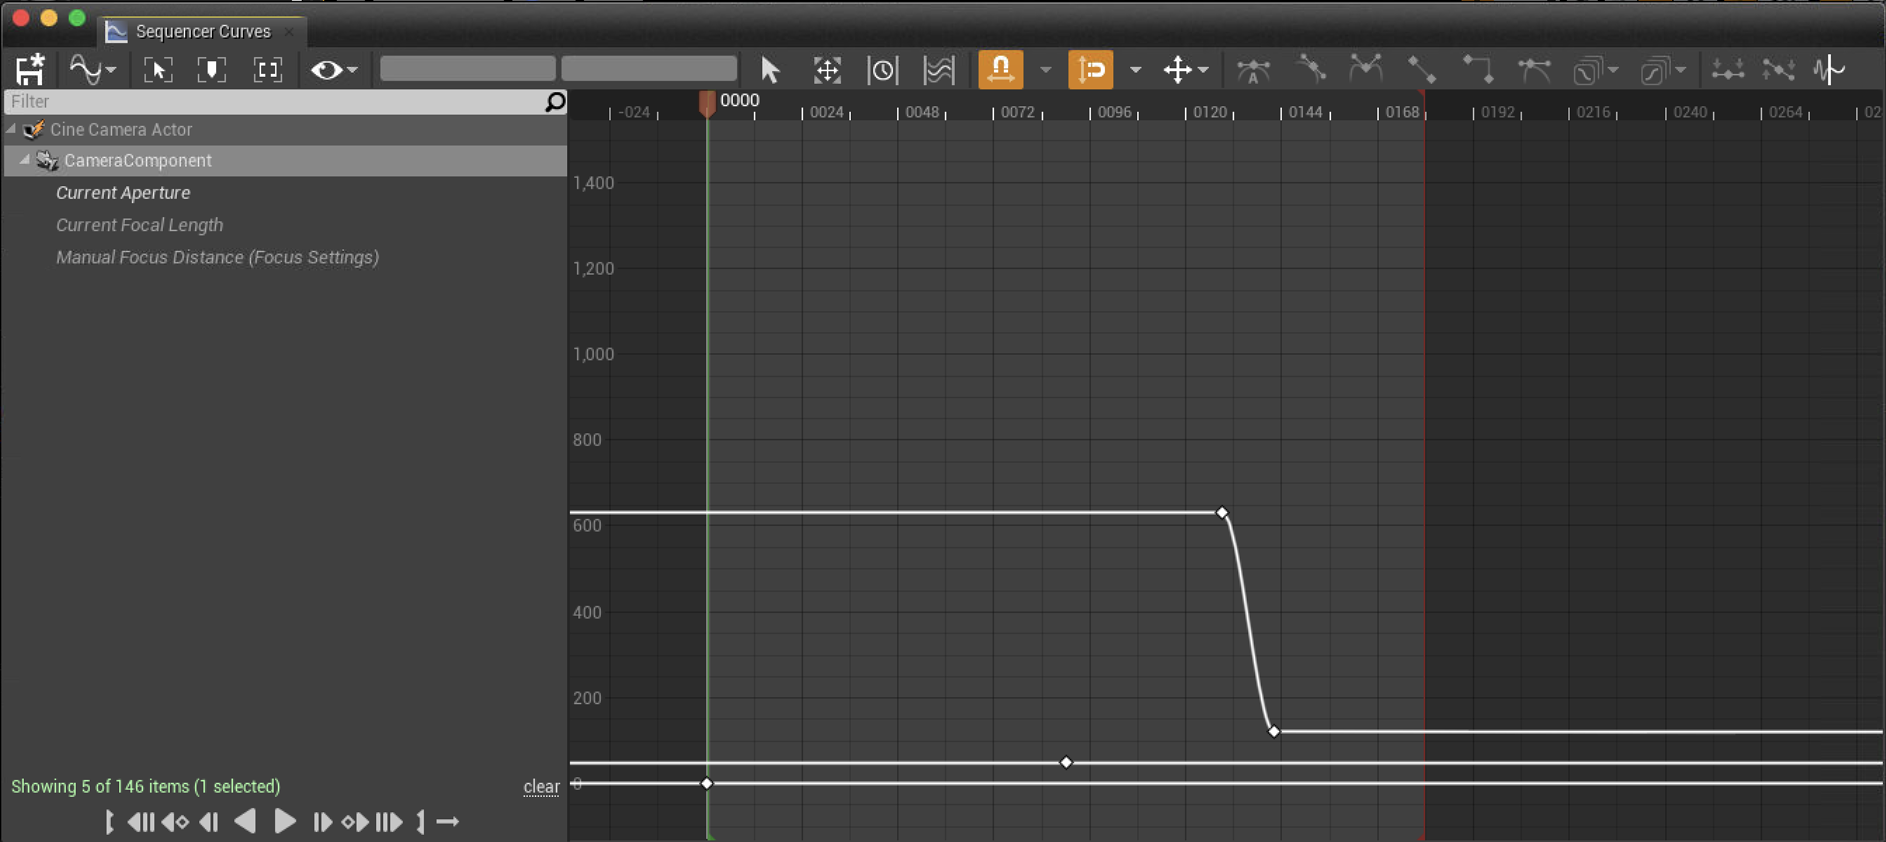
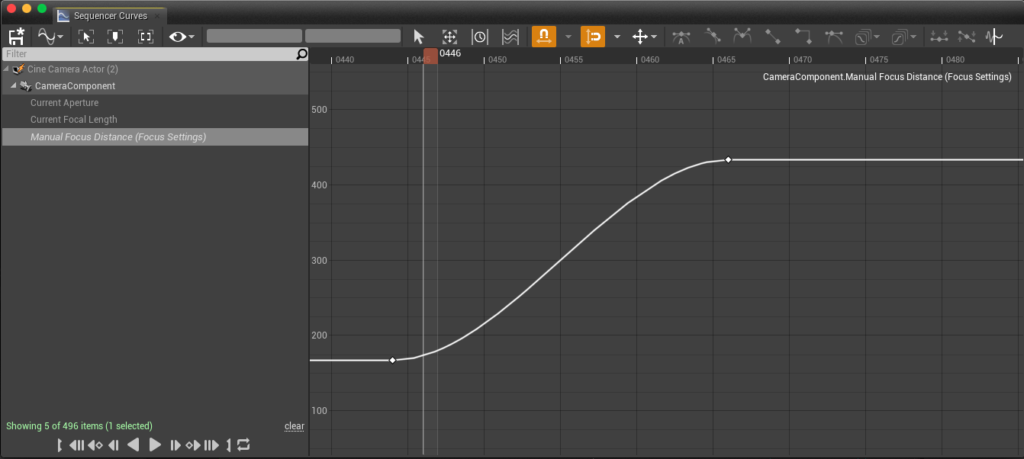
You can have all of the shot cameras that you have created listed, with all the necessary parameters that Maya has, such as depth of field, focal length, focus distance, etc, and these can all be key-framed like After effects, all with the ability to open the graph editor for more polished animated movements, which is a very similar graph editor to Maya’s.
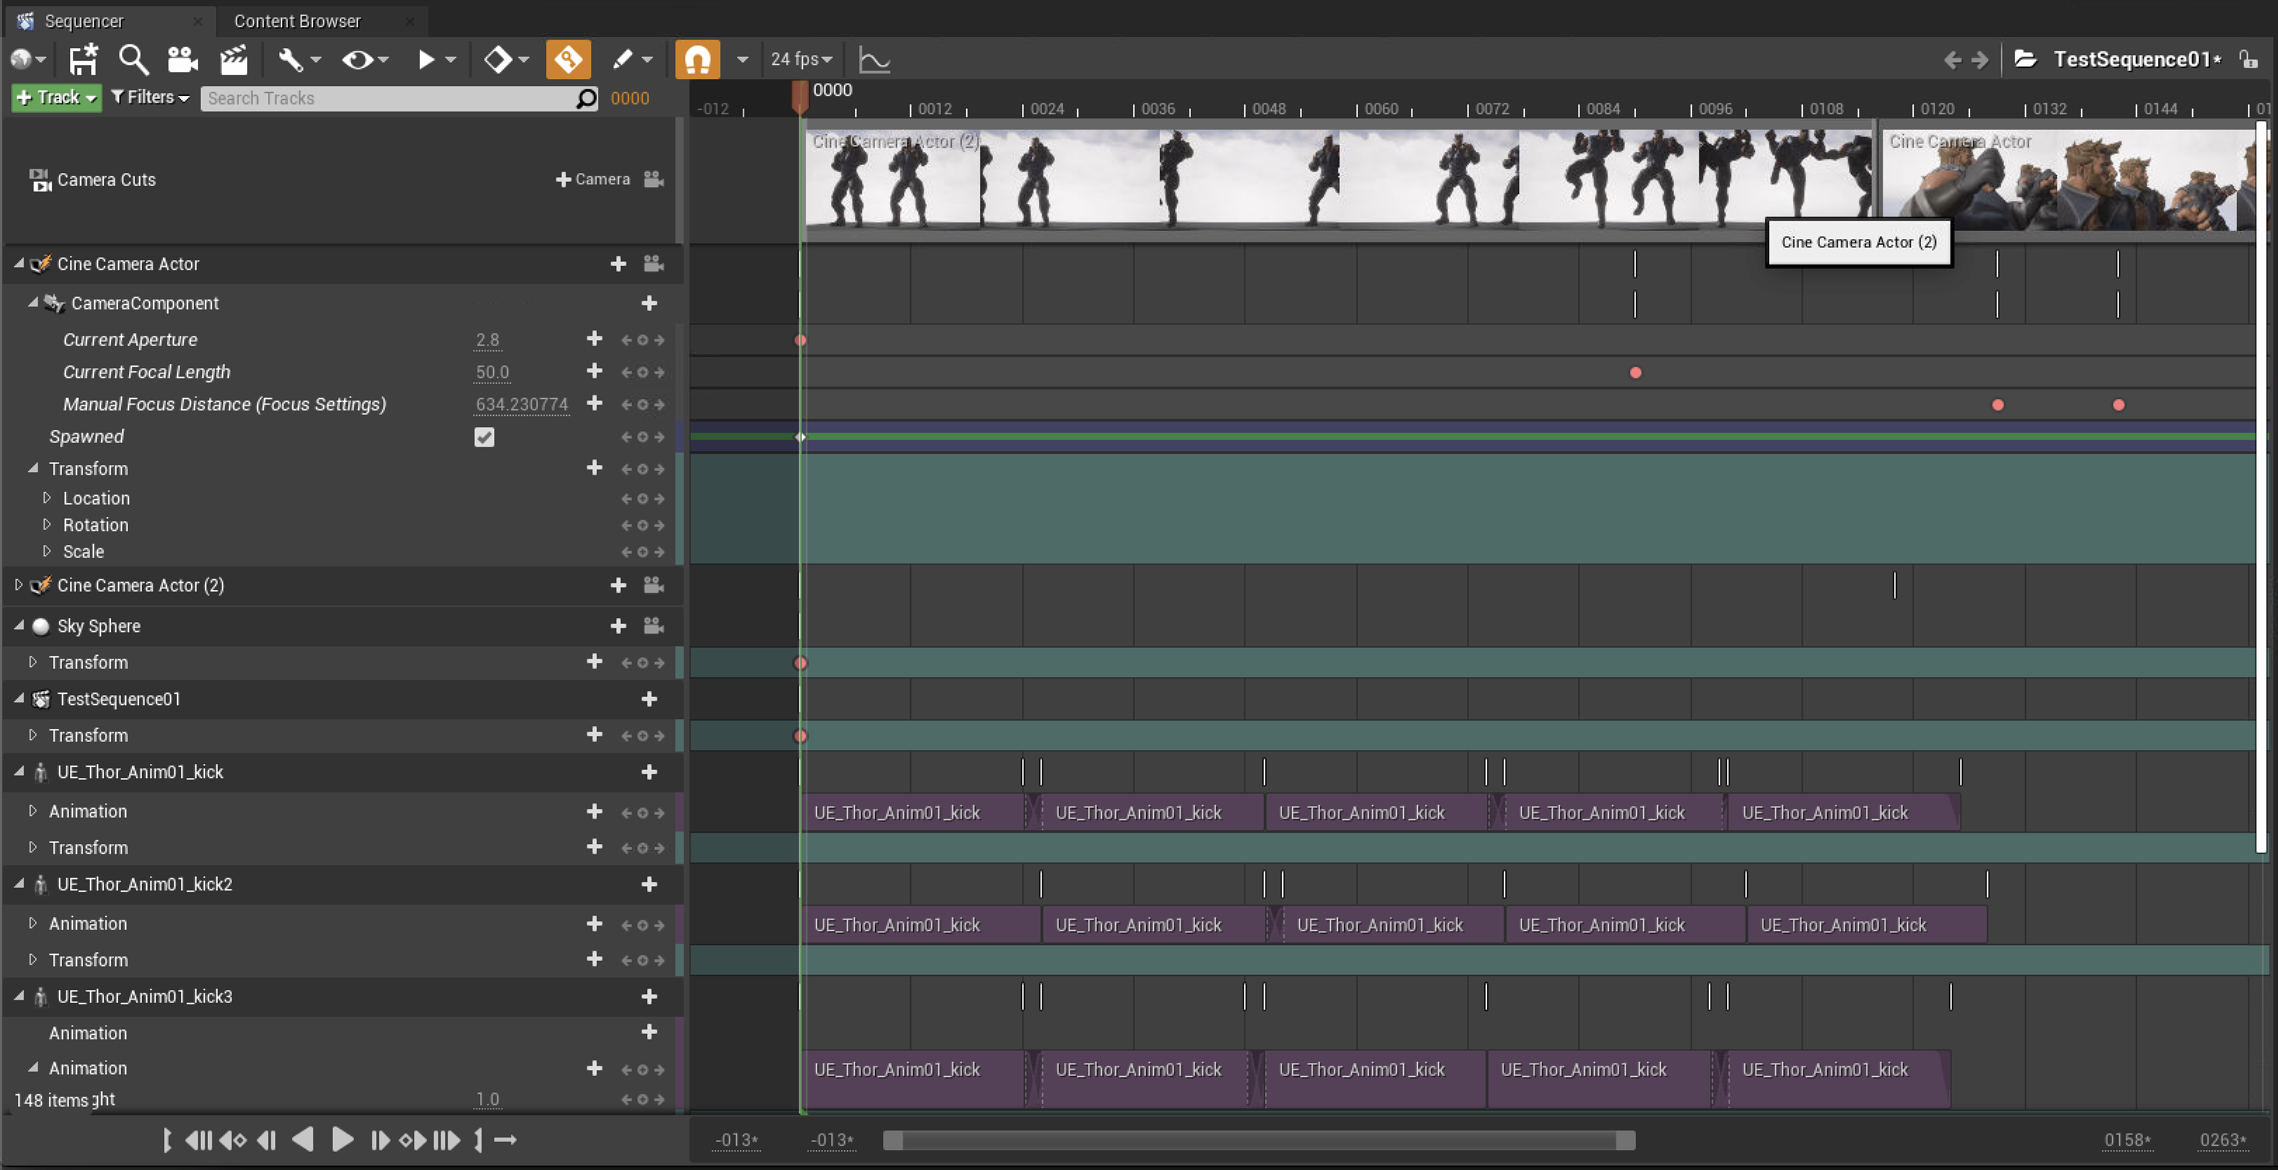
You can also add characters to the sequence, and there is a section where animations can be added, and be laid out sequentially, and even create transitions between them if necessary. I may not use this feature as much in my workflow, as the animation will be done in Maya, but it’s awesome that it exists. This camera sequencer gave me confidence and enjoyment to be able to use it for sequences.
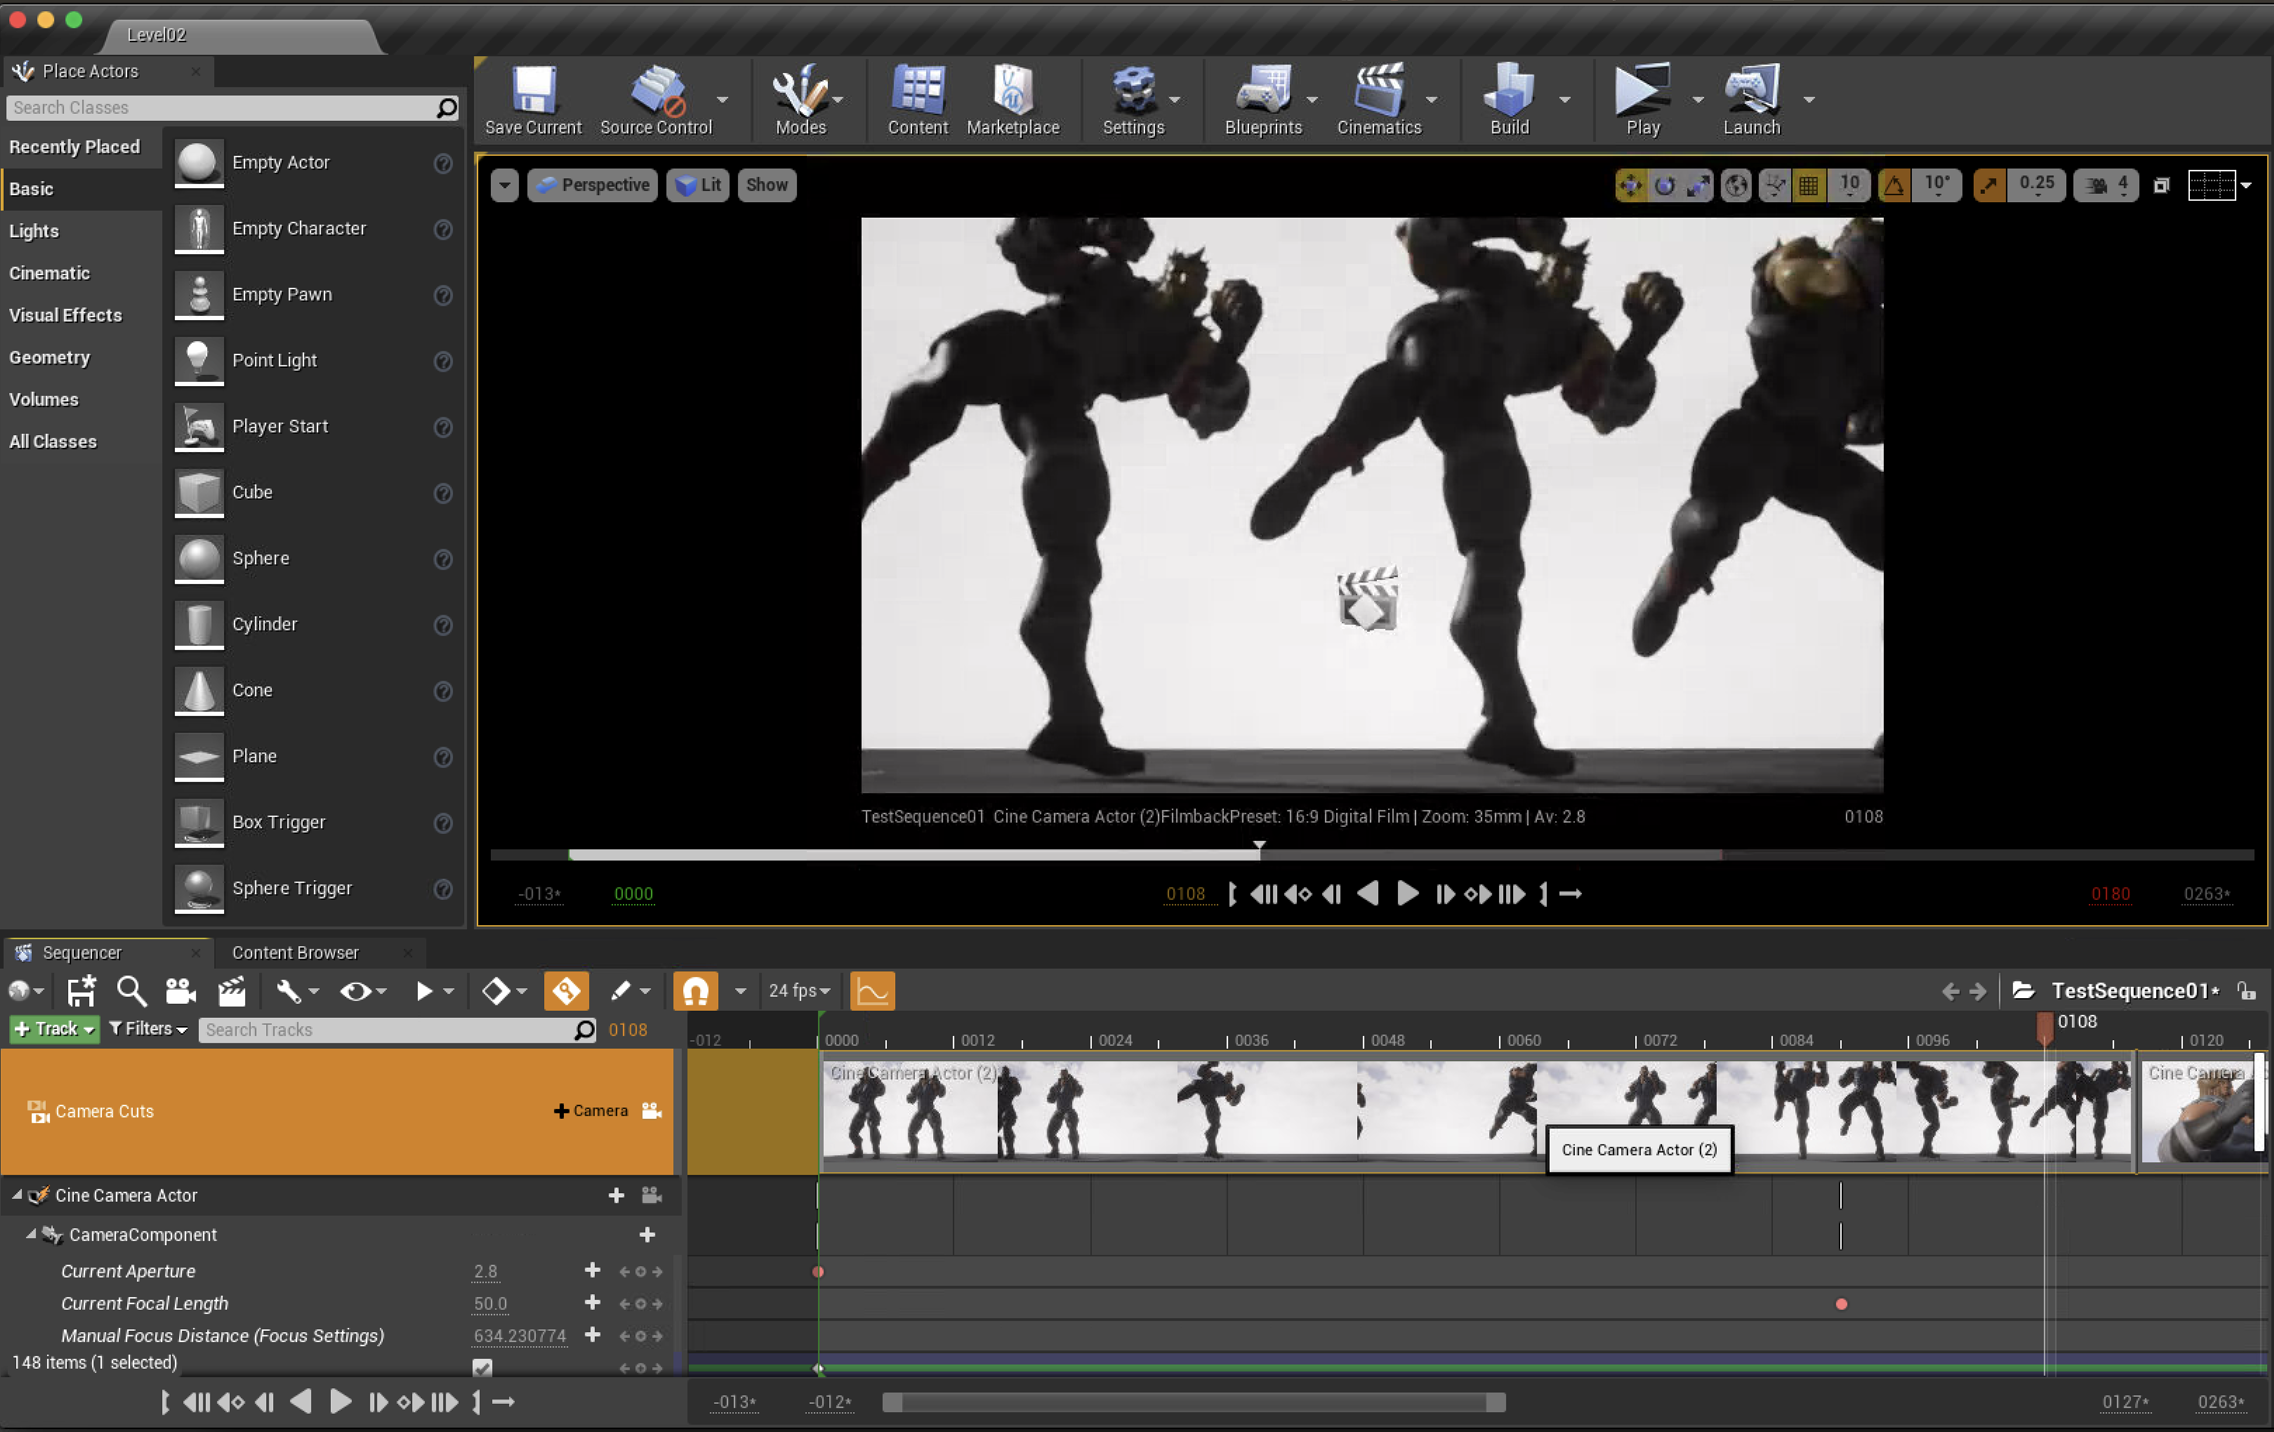
You have full control over the layers you have, as you can add as many camera tracks, character tracks, and other things that are in the scene. You can also have multiple “Camera Cut” tracks, which are basically editing camera tracks, and then you have the option to view each edit in the viewport, or even just individual cameras, or no set cameras at all.


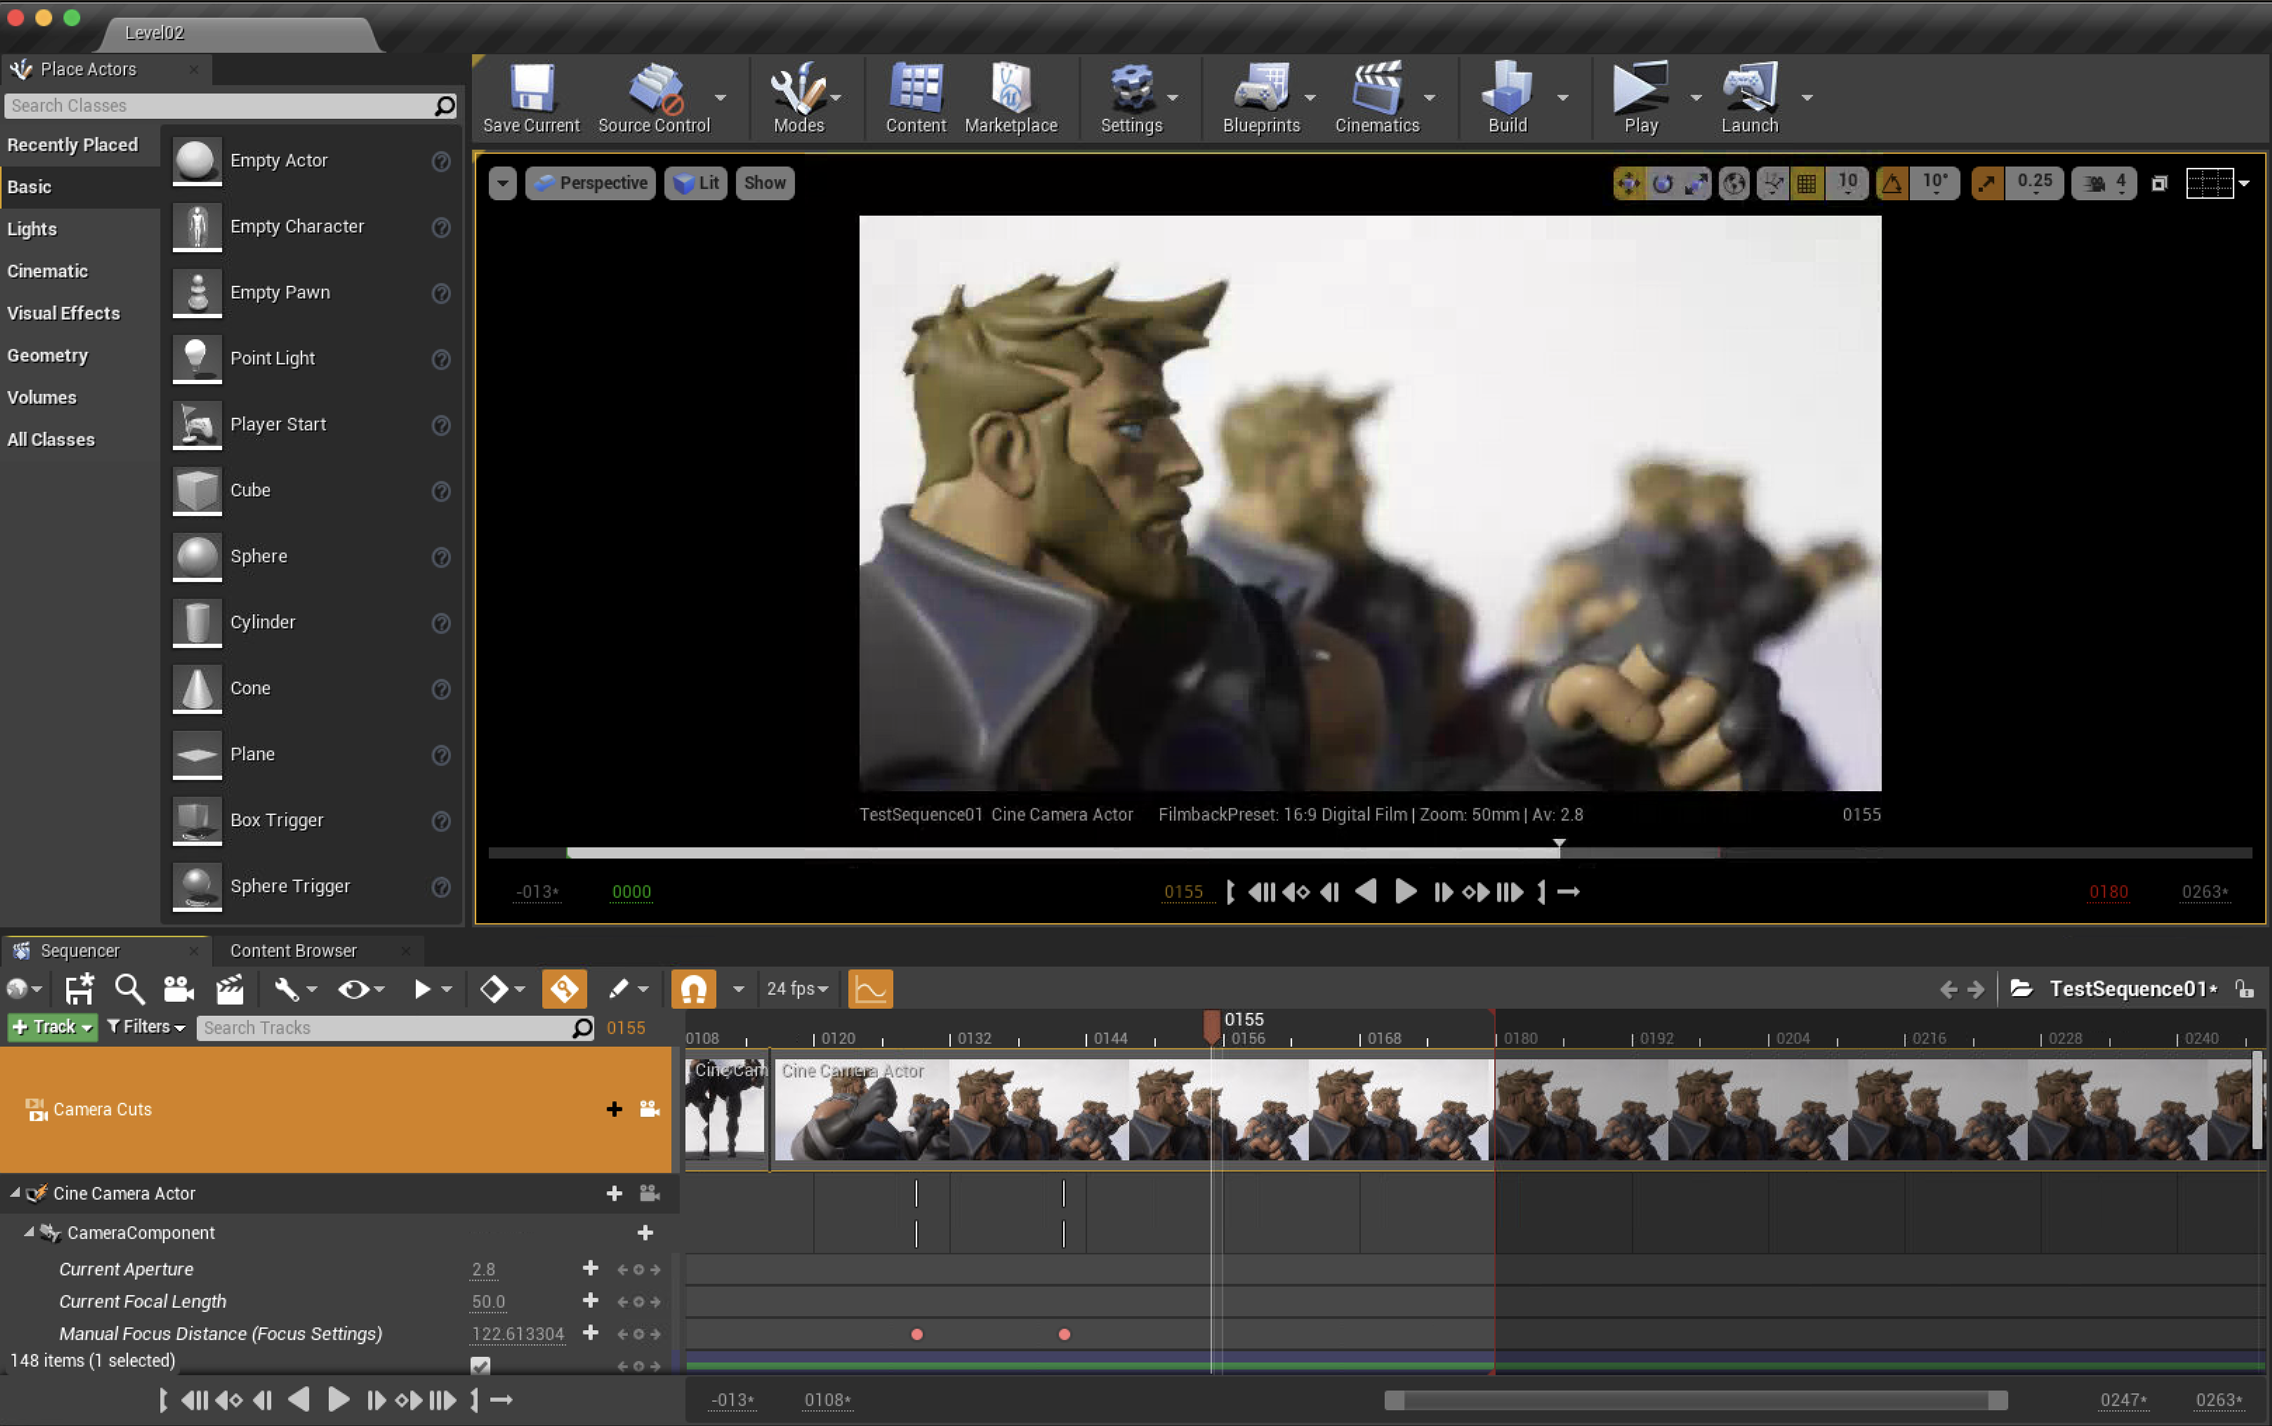
Here is the edited sequence that I had created. In this test, I used a low depth of field camera, and key-framed the focus distance, as well as a single camera move.
Doing this process, I also discovered that you could update animations really easily. This is done by just adjusting the animations in Maya and re-exporting the FBX, and if you keep the frame range of the animations the same when exporting from Maya, it keeps it consistent, but even if you don’t the animation will just become longer. In Unreal engine, you can directly just swap the animation by clicking “Reimport from the new file.”
This would be great for a team workflow if someone was just doing the camera work/rendering in unreal, and someone was working just on the animations in Maya.
Here is a first pass of the same sequence, where the textures of the rig were broken, and it uses a first draft of the animation before updating:
Overall these tests, and this small project as a whole, gave me confidence in understanding the workflow of Maya to Unreal engine, which I could then apply to any upcoming pre-vis projects. The difficulties faced are certainly lessons learned which I can apply to making future projects that much smoother. The freedom of being able to create animations and characters quickly, and then have them rendered, really showcases the amazing uses for Unreal Engine.
Objective – Edited Sequence Inside Unreal Engine
For this objective, I decided to pre-vis a pre-existing story so the effort could be spent more on techniques.
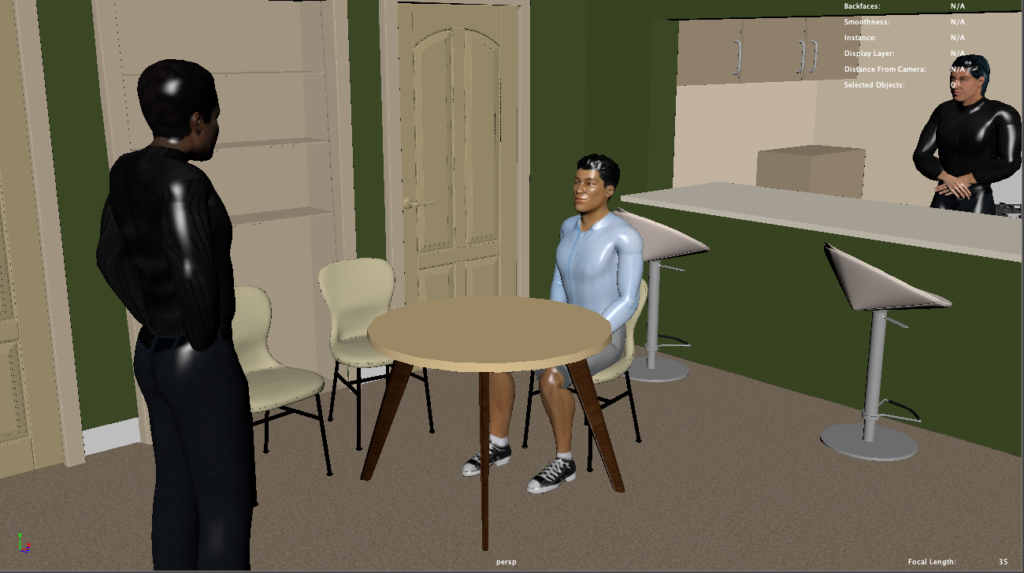
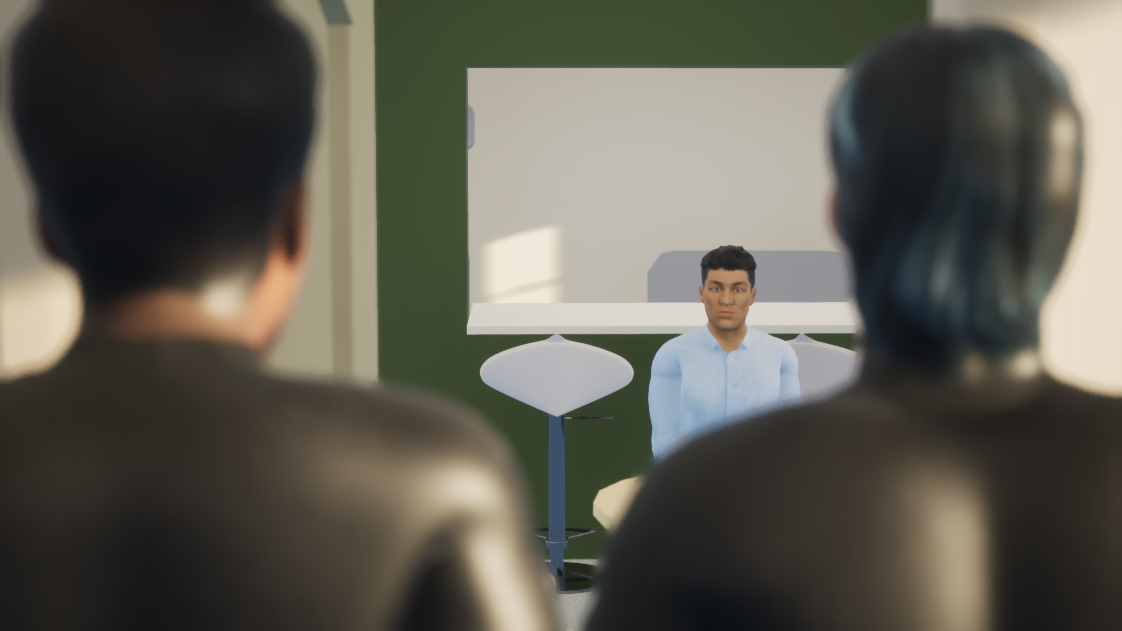
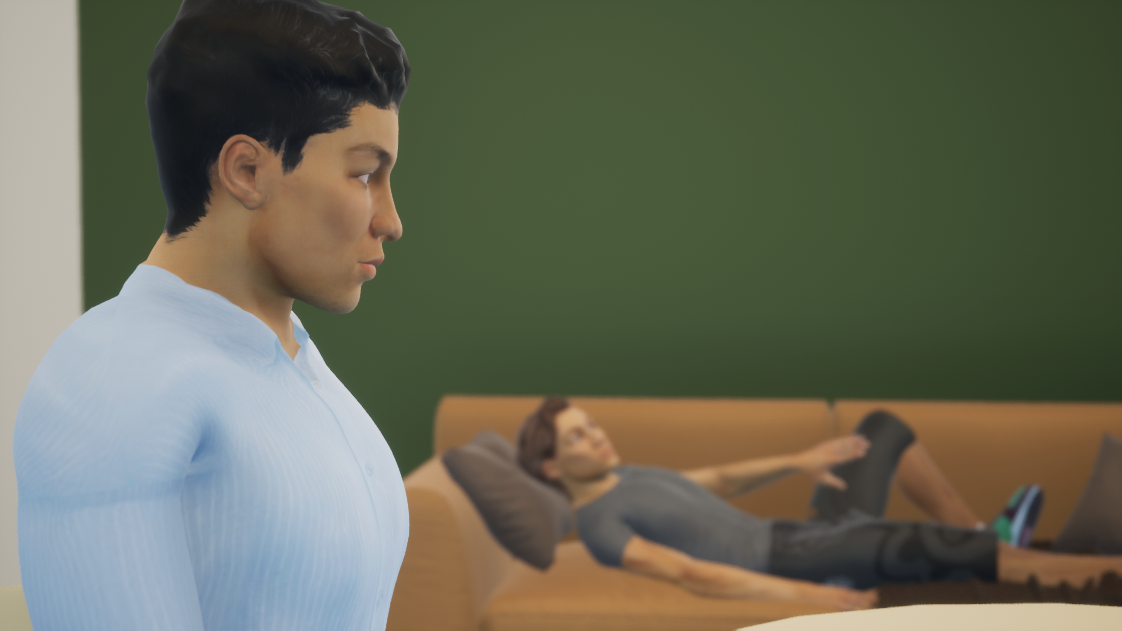
For this, I decided to go with a sequence from Pulp fiction, in which Jules and Vincent come to collect a debt from a group of lads, who had a run-in with Marcellus Wallace. This was just a sequence I was familiar with, and in the editing process, I could have some fun with it.
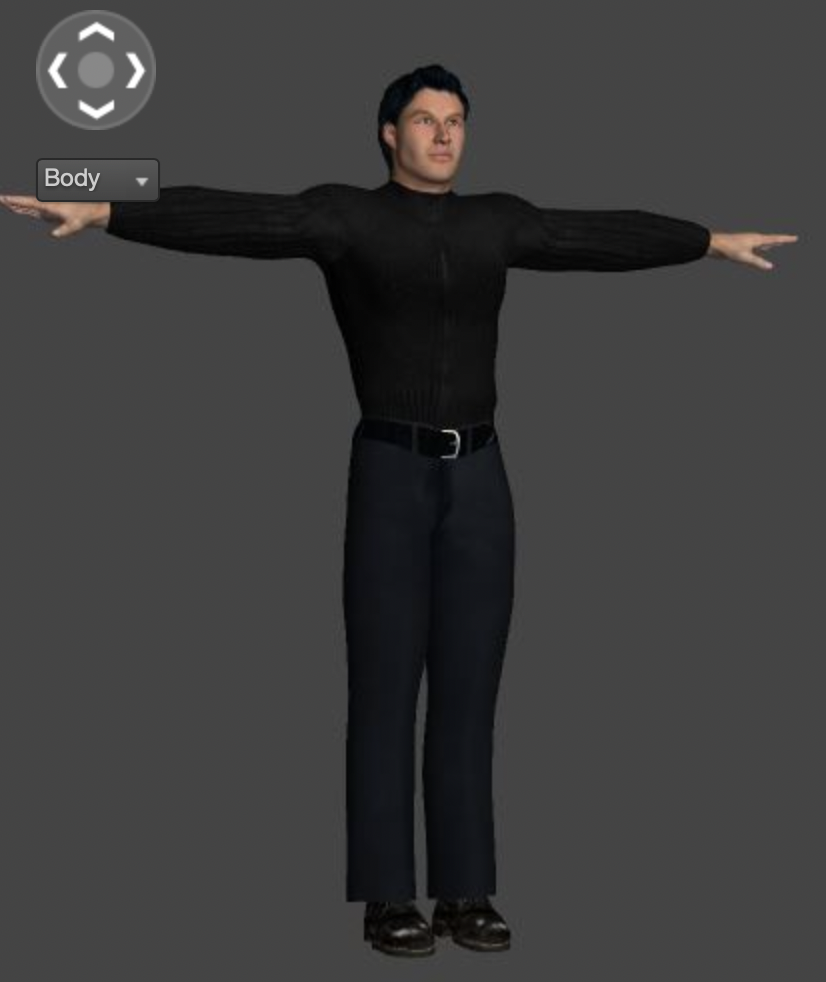
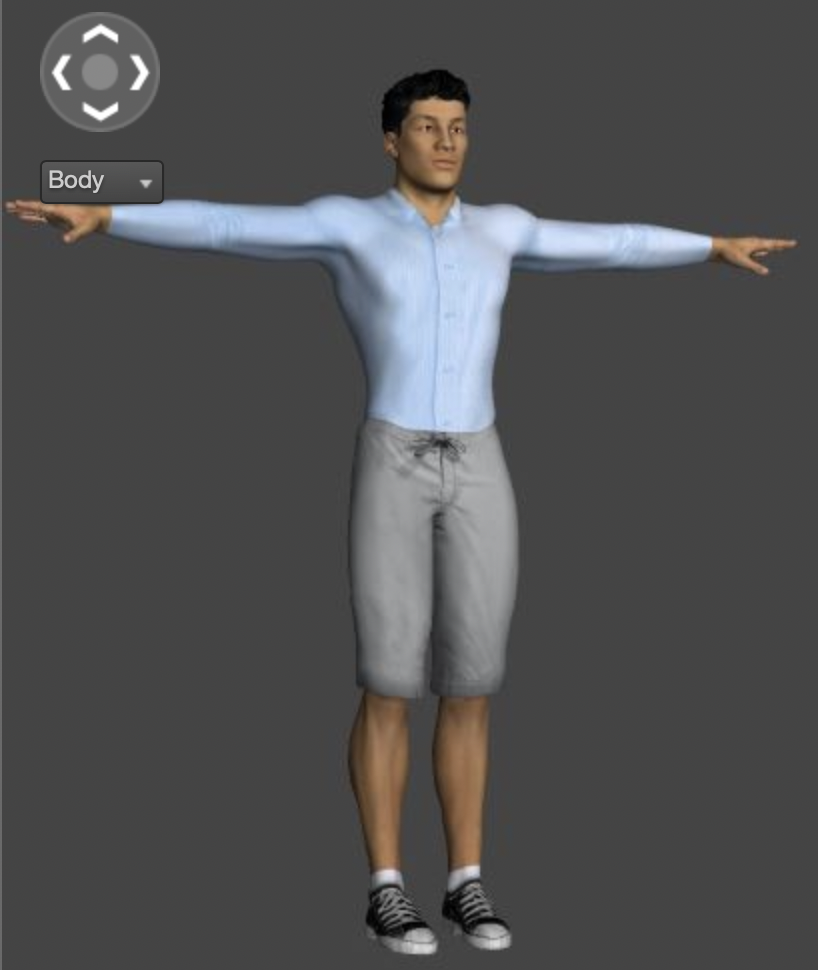
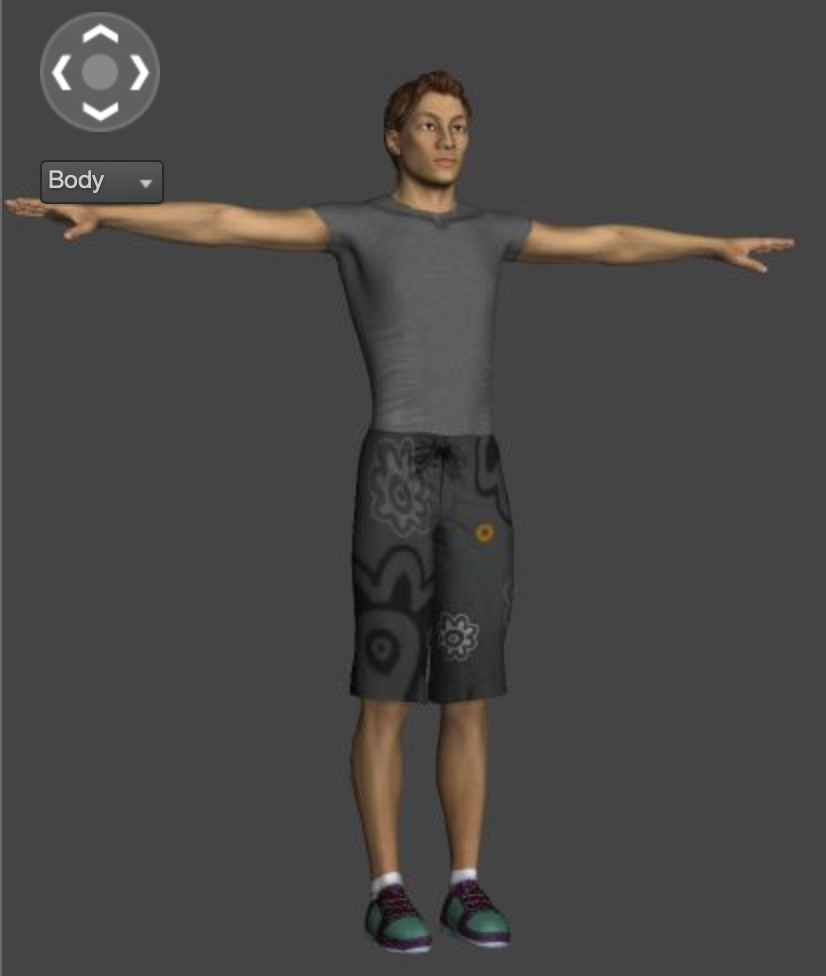
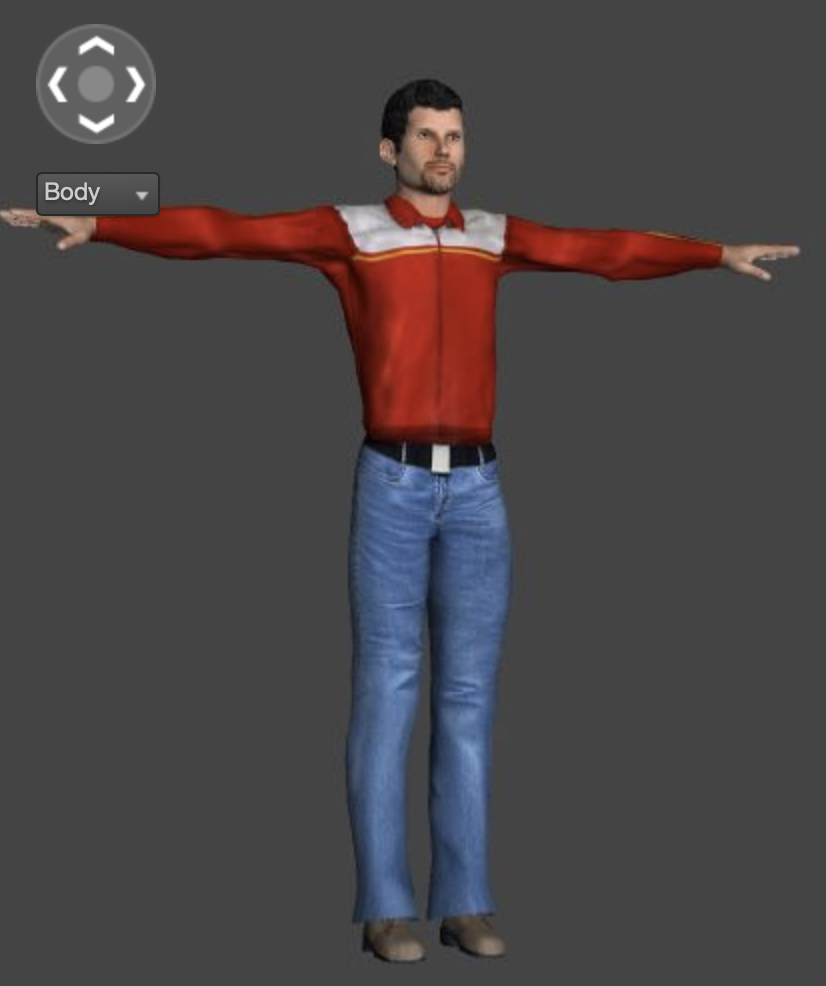
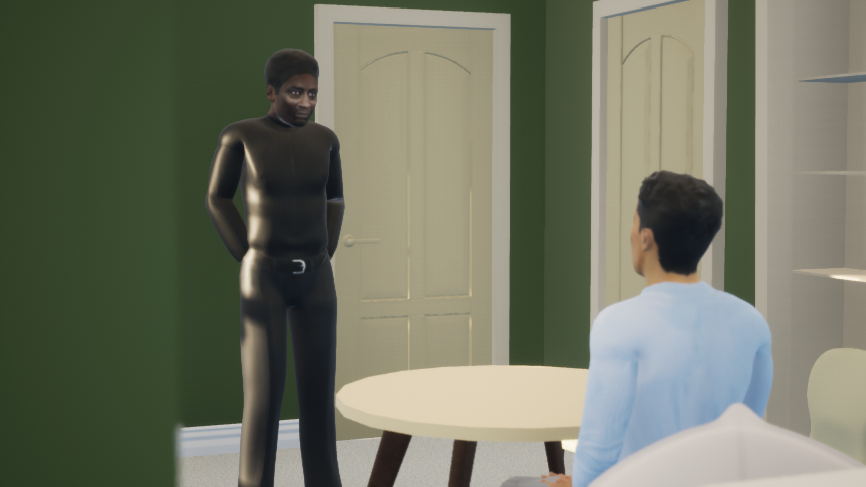
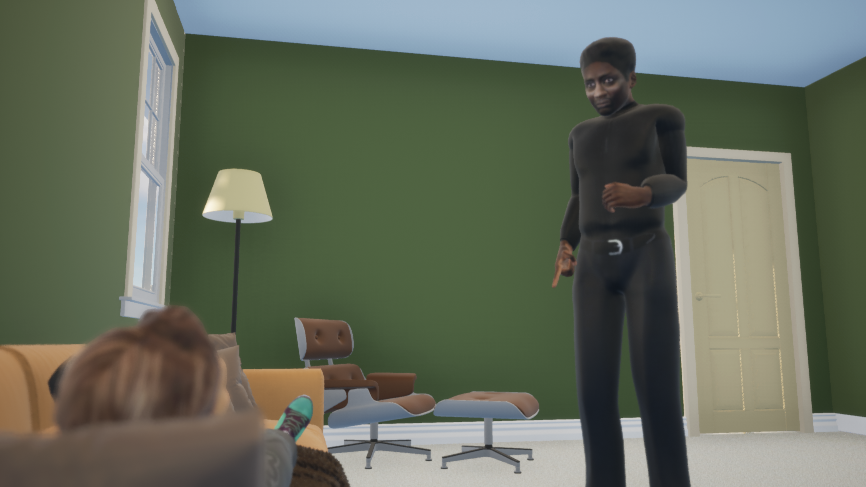
Using the Autodesk Character Generator and Mixamo rigging process, I created 5 Mixamo rigged characters for the scene (click/tap to swipe through)
I originally thought about trying to use the rig that came with the Character Generator output which I discovered myself used Mayas Human IK window to create a working control rig. However, after some research, this turned out to be limited to 1 per scene, so I stuck with my original plan.
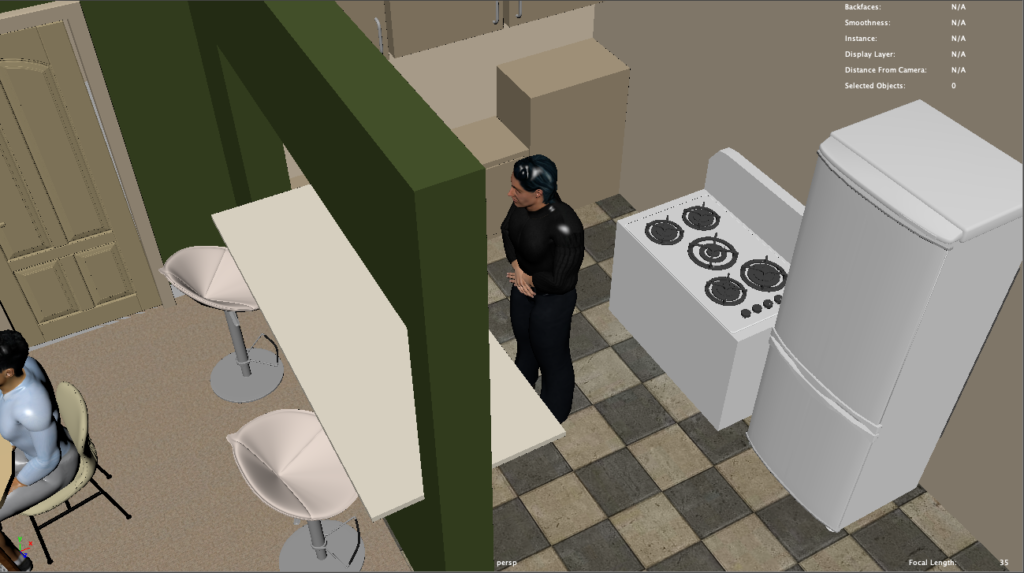
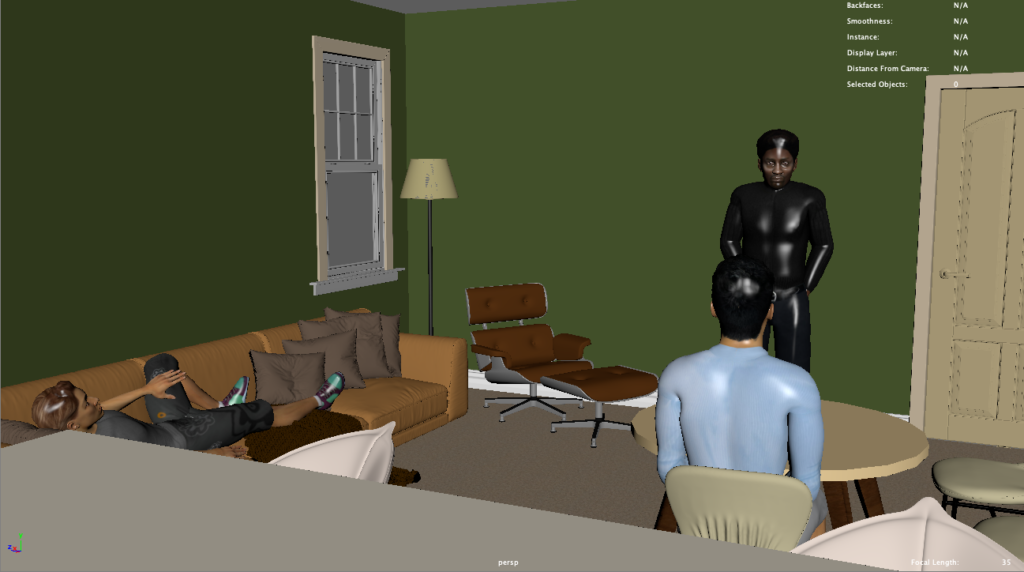
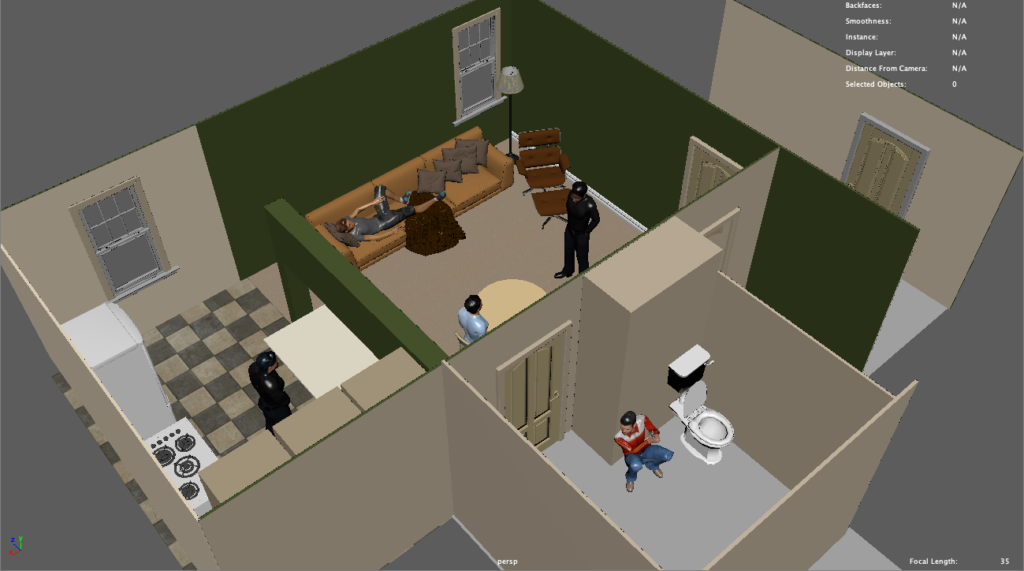
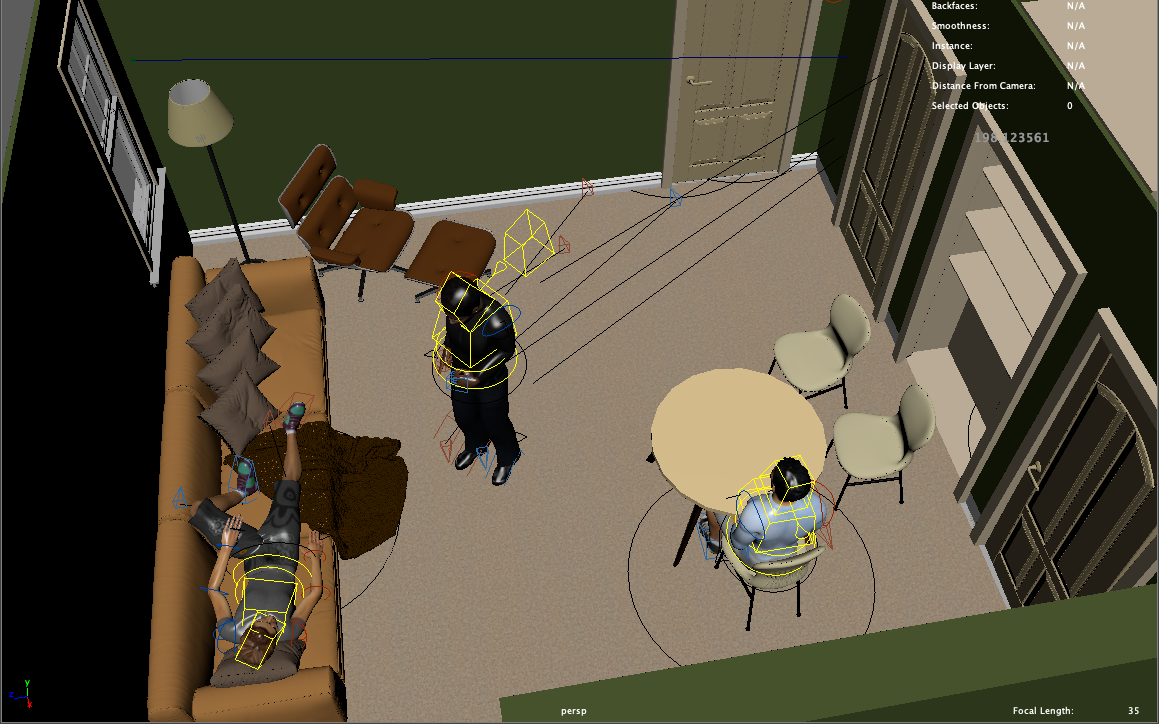
Next was world-building, which I did to scale. This process took around 3 days to complete to a standard enough to indicate where everything is in the scenery, however, I know that if I were to finalize the project, I could add much more detail, such as papers on the table, bottles, things on the floor, etc.
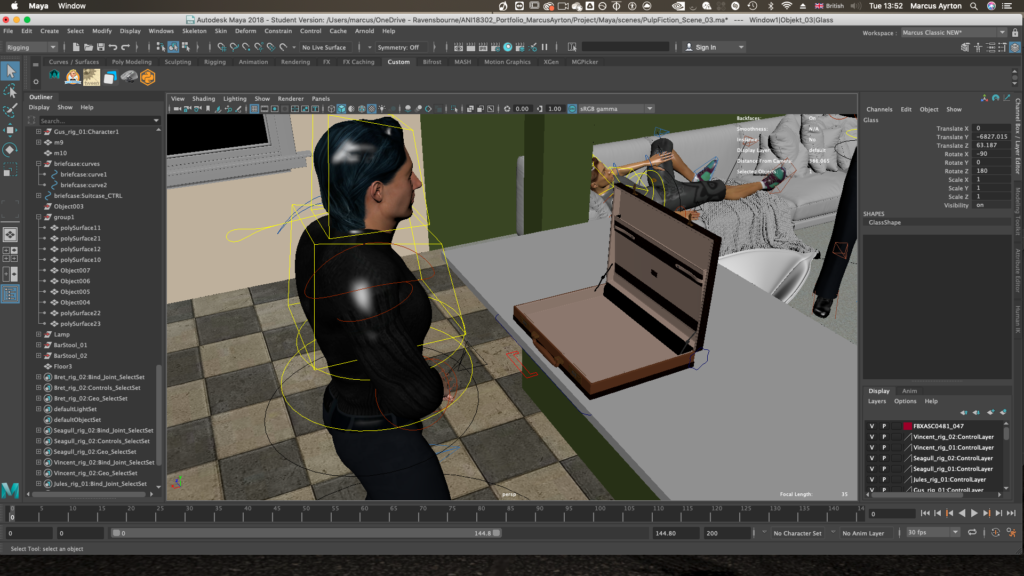
Primarily in this build, I used a lot of premade assets sourced from “Turbo Squid”, and built up the scene using reference images of the film. I imported one of the characters to define the scale. I also found a suitcase rig which is really cool and the opening of it is very realistic. The walls, cupboards, and other specific room shapes I quickly modeled myself. I’m used to modeling a lot of scenery by hand myself, but being fully aware of how things like advanced chairs, loungers, sofas, and fridges take to model in detail, quickly getting some free ones was much easier. I then populated the scene with posed characters so from this point I could understand the 3D space that I had created.
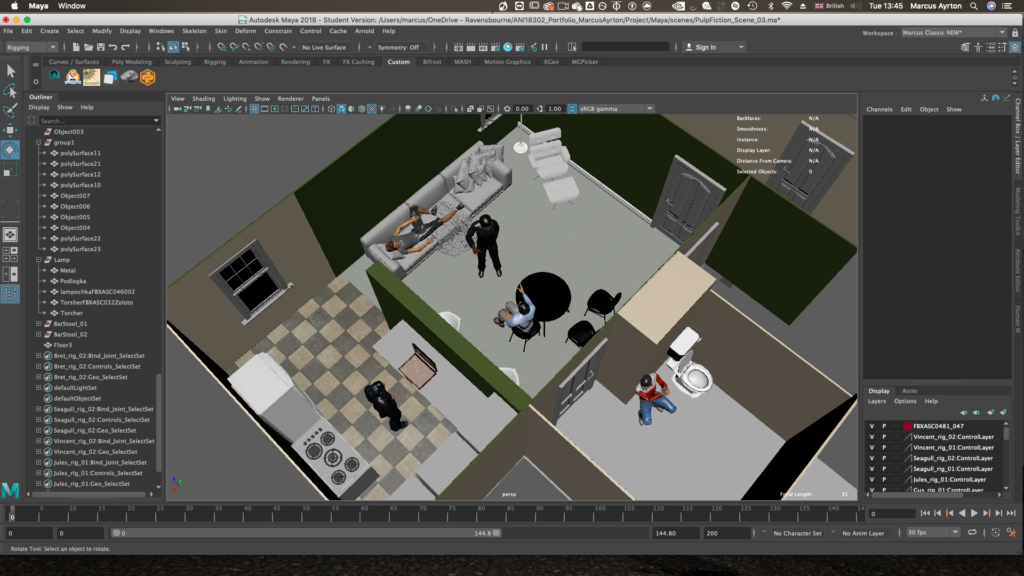
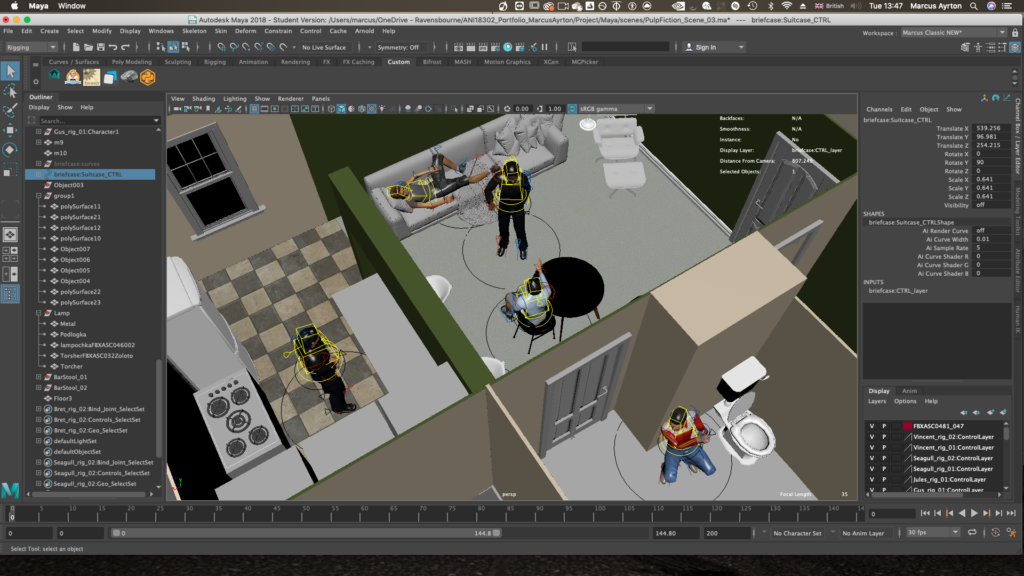
I had another go at texturing the scenery also, to ensure all the colors looked nicer and either matched the reference Bettie, or just made the color scheme seem more fitting.
Bringing the scenery into Unreal Engine was…a nightmare
I tried multiple different ways to bring in the entire scene as a whole, but for some reason, it just wouldn’t work the way I wanted it to. The first time I tried bringing in overall scenery, I tried exporting as FBX and dragging it into Unreal, and it came up and I could import it, but no textures were present. I tried again in different ways and then again, imported with no textures. After this, I held it off until last, and finally got a working FBX of the entire scenery, textured. The size of the scenery as a whole was always 1.1GB, so any test of exporting from Maya to Unreal to quite a while to export, as well as time to import.
The scenery does look so much nicer when rendered in Unreal, however, it imported as every single shape separately. But luckily dragging it all in at the same time keeps its relative positions, so everything is in the exact same place as it is when inside Maya


Pulp Fiction Project – Animations
Actually animating the characters took quite a while too, but on and off. For this project, because of a recommendation from the industry to only have a “First Pass” of animations, and seeing the quality of pre-vis animations in real industry work, I tried not to focus on this too much. Here are the main passes inside of Maya:
Throughout the process, the rigs showed a few minor issues, but a lot of problems came down to my own doing. I tried to not move the characters using the rig’s global controls, but with some attributes being parented to the global control, it meant there were lines randomly everywhere.
If I were to use the rigs properly, and have more practice at animating more complex pieces with Mixamo rigs, they could still be extremely useful for future pre-vis endeavors.
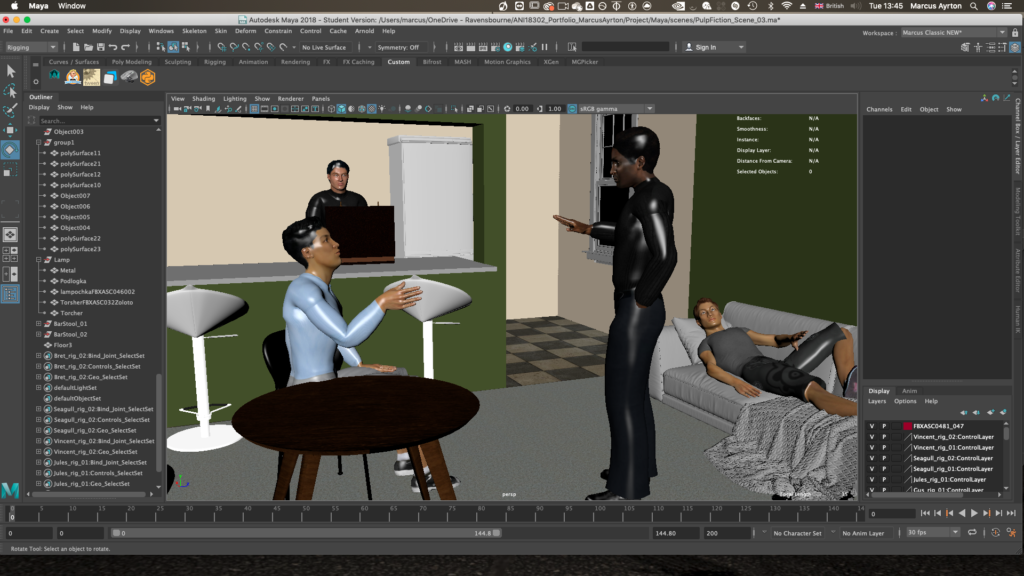
Nonetheless, the animations turned out pretty well. I used reference images from the shots again as reference for main poses, and the cupboard picking up, I used mainly my own movements and the locations of the objects in the scene.
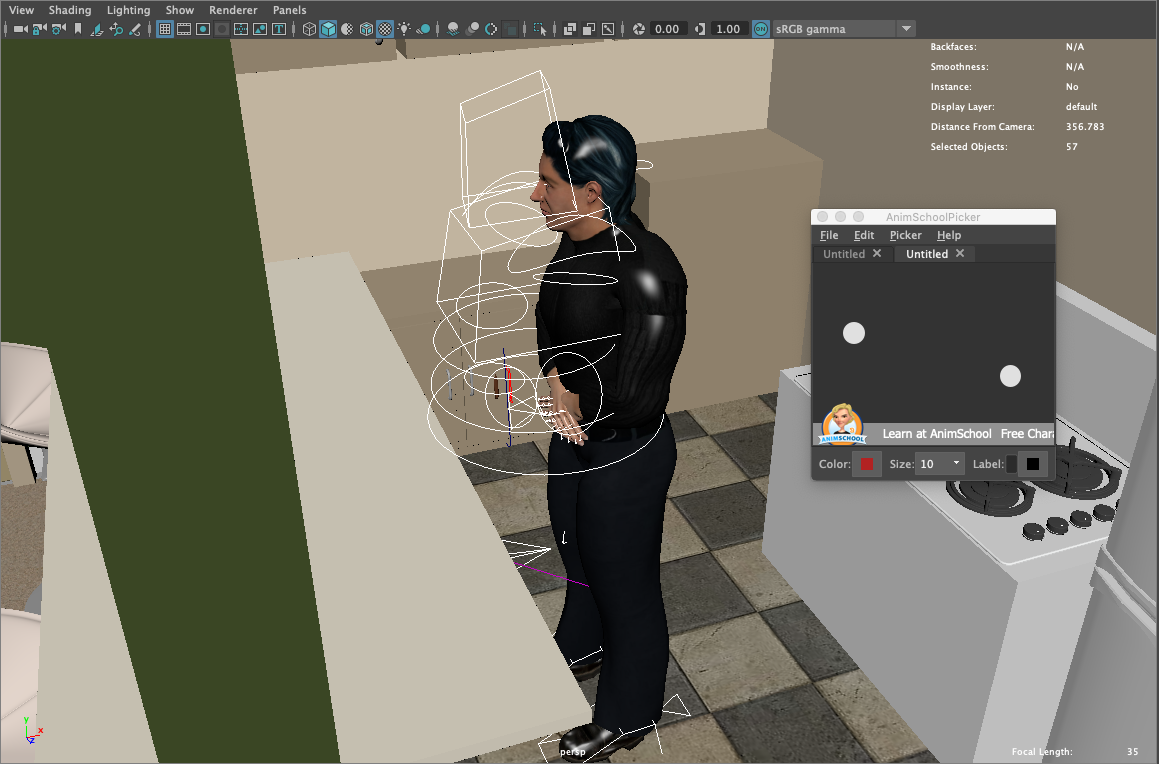
I encountered a pretty good animation workflow after a while. Using AnimSchool Picker I created buttons that selected all the controls of each rig, so it was a lot easier to key. I would key all of them on major poses and ensure the poses were static for a longer amount of time by copying all the keyframes in the graph editor, especially for when the Vincent Character (the one with the suitcase) did the major actions which I planned on editing each action with a cut in the kinetic editing style of Edgar Wright.


The characters imported into Unreal Engine provided very few problems. Both the characters and the animations all properly imported mostly with textures, but with the rigs having only 1 texture file, if there were problems, correcting them would’ve been very easy. Dragging the actual characters into the scene relied on knowledge of where they were in relation to the scenery in Maya, but luckily with the characters interacting with the scenery in one way or another, it was easy to pinpoint their location.
The animations went through multiple iterations, but re-exporting the animations individually from Maya after making changes using the Game exporter, went really well. The characters also looked really nice when a camera was put onto them.
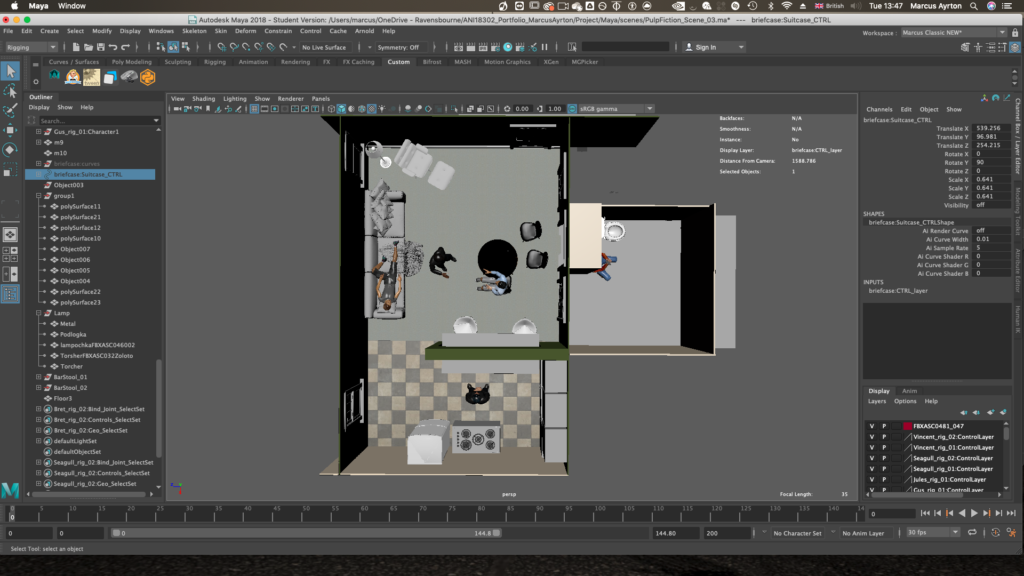
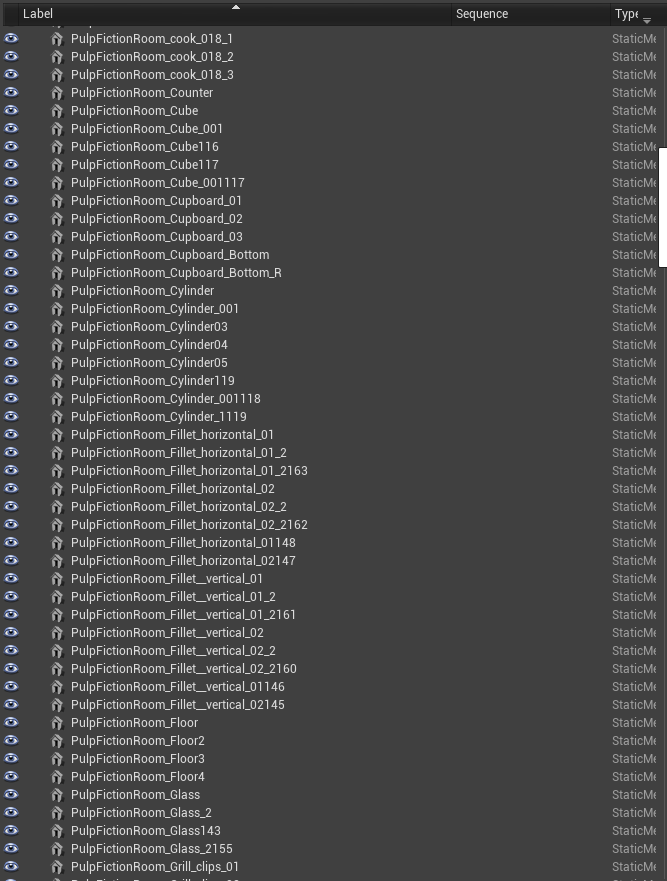
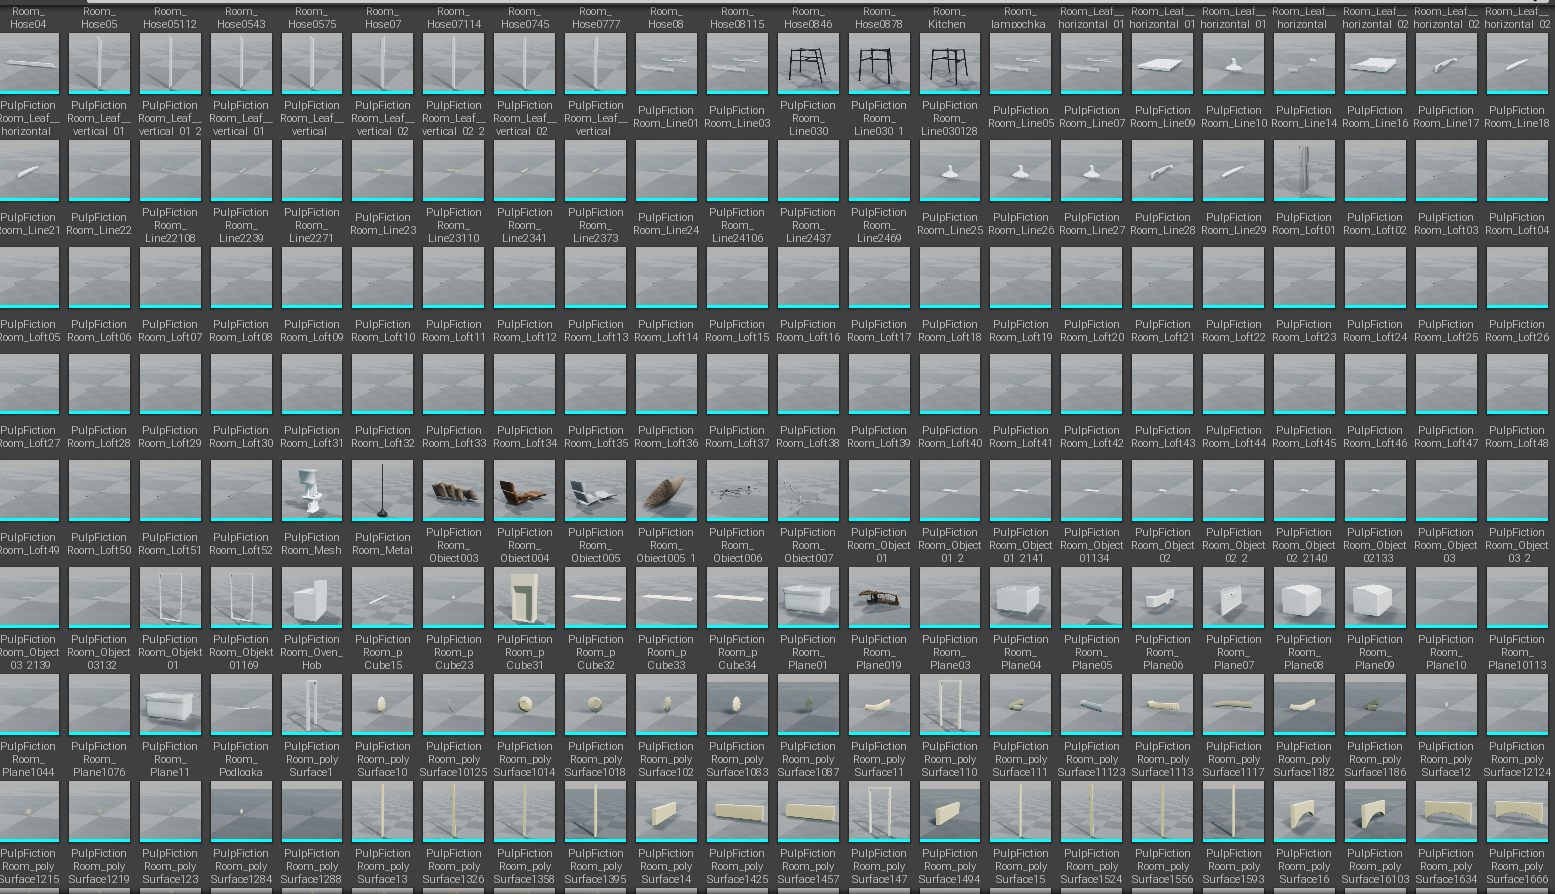
Content Browsers with characters, the one filled with scenery, and my outliner with all the scenery inside.


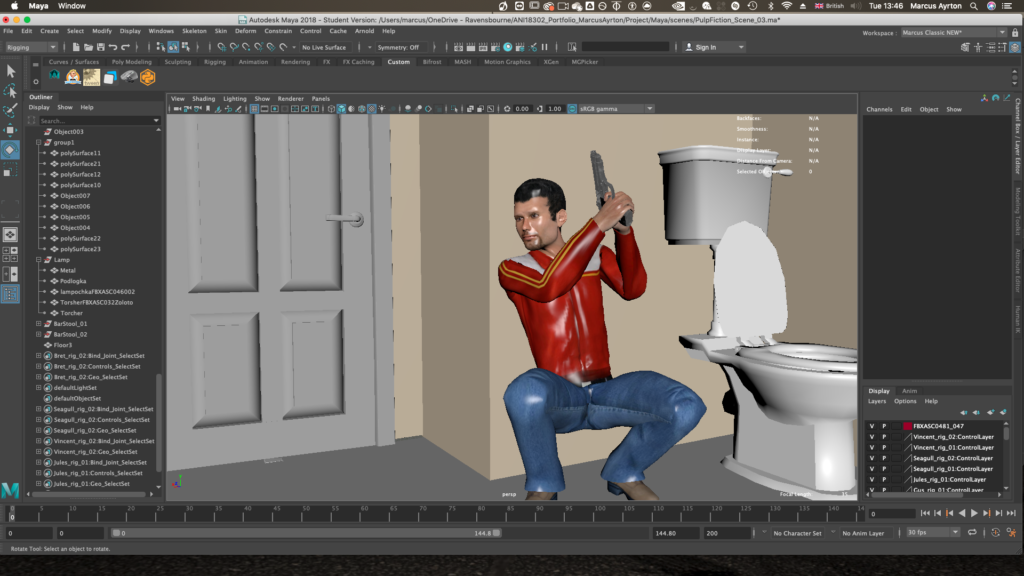
For the objects that animate, I exported them separately as their own thing. I followed a tutorial to export objects which have animation and did so with both the moving front door and the cupboard door that the characters open. These objects won’t have their own joint hierarchy and skeleton, but regardless, Unreal Engine creates a skeleton for all animated objects. This worked really well for both the front door and the cupboard door.
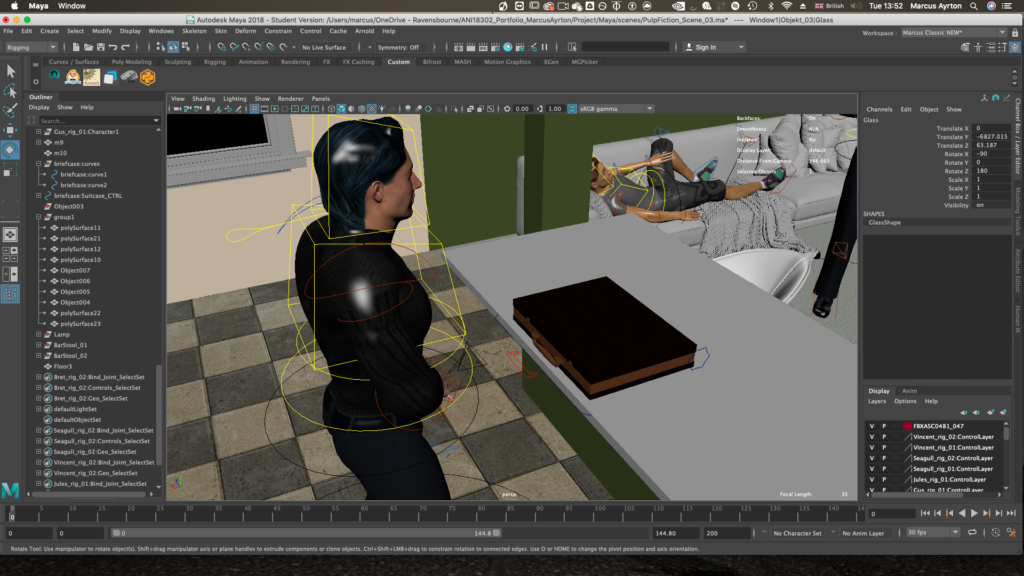
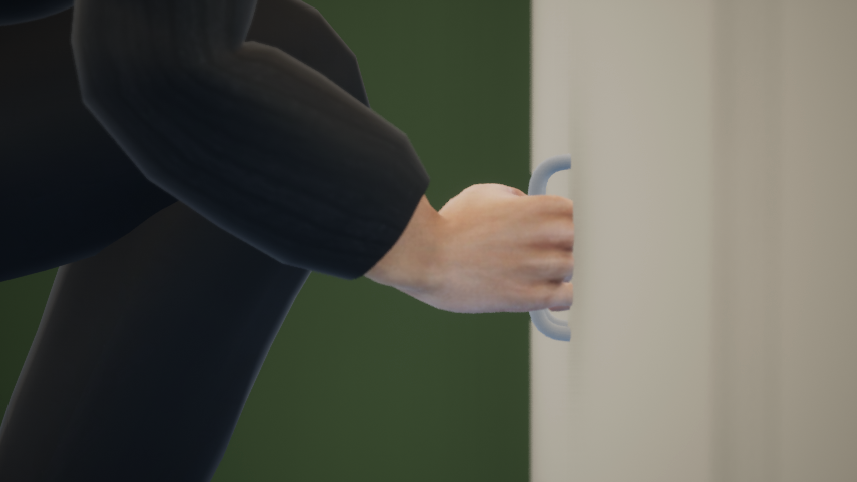
The only thing I’ve had any major issue with is the suitcase animation. With this having constraints, using controllers, and not having an actual skeleton, I have a feeling I would run into issues. I tried multiple different things all with the same result, and still currently am left at this stage.
I manually tried baking all the animation despite the export process already doing so, I tried applying all animations to only one of the objects to no avail, and tried exporting via the Game Exporter, and also just Maya’s inbuilt “Export Selection” UI.
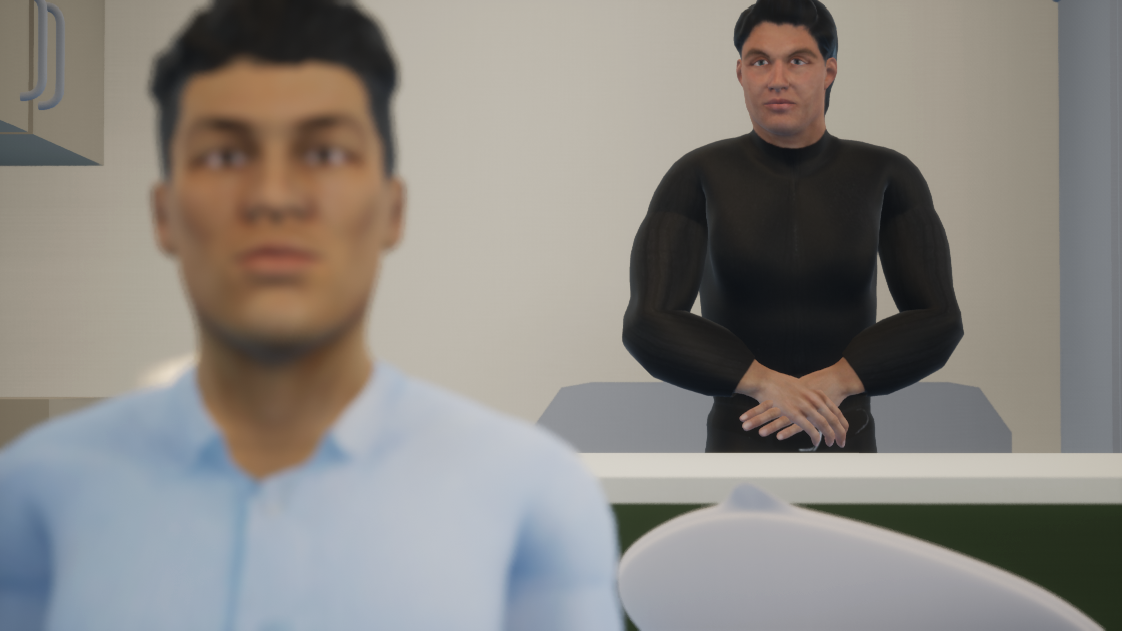
Using FBX Review, the animation and object seemed to export perfectly fine, but in unreal engine, every single time I imported the animation, I would get a static suitcase in the wrong position, and then when the lid is supposed to properly open in an animated way, the lid just moves off itself.
Here is the FBX review output, and then what happens inside Unreal Engine:
UPDATE:
I did manage to fix the suitcase animation. Turns out there is a problem with unreal reading the global controller of the rig. The main global controller is actually a parent to the mesh, and not actually constrained to the mesh like controllers should be. This means that the controllers are doing all the animating, and baking doesn’t actually bake the animations of the controllers to the mesh. As unreal engine can’t read controllers, or animations on them, it wasn’t reading it as mesh being animated. To fix this, I re parented the actual mesh group to the hand controller of the character, keyframed the blend parent, and then baked the movement. I also baked all other animations and removed the controllers, essentially breaking the rig.
Although not a perfect fix, Unreal Engine read the animation completelty fine. For the future, it means now that I must ensure rigs are created properly, as well as animations actually being properly baked to the mesh. If this problem were to happen again I would know how to fix it.
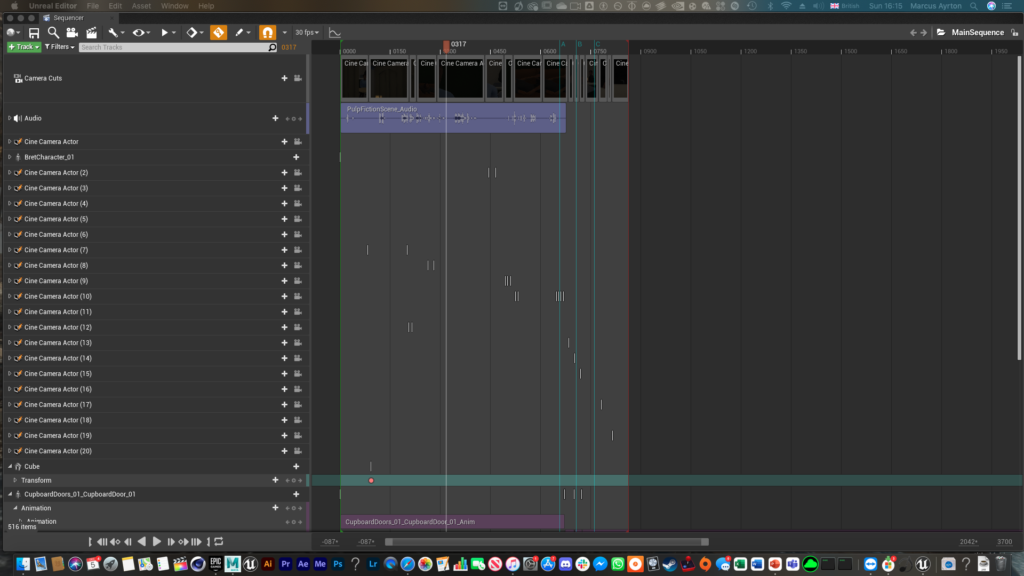
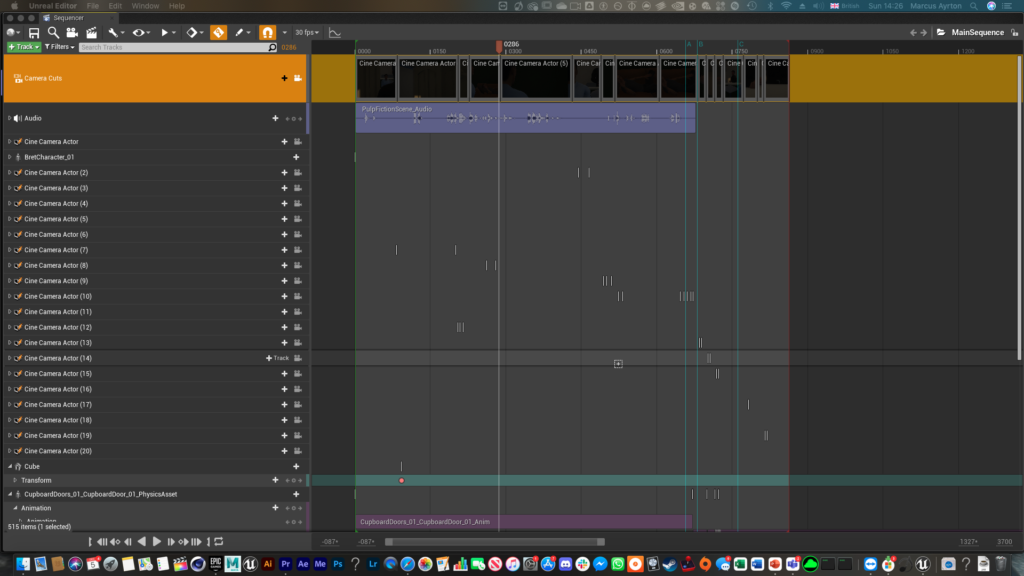
Pulp Fiction Project – Camera’s / Editing
Finally, it was a chance to spend some time editing a sequence together. My plan was always to experiment rather than just copy from Pulp-Fiction, so for this project, I set out to add loads of different cameras for a big variety in the camera work, and also to look at Edgar Wright’s typical editing techniques. This part was by far the most fun, and the reason I set out to do this project.
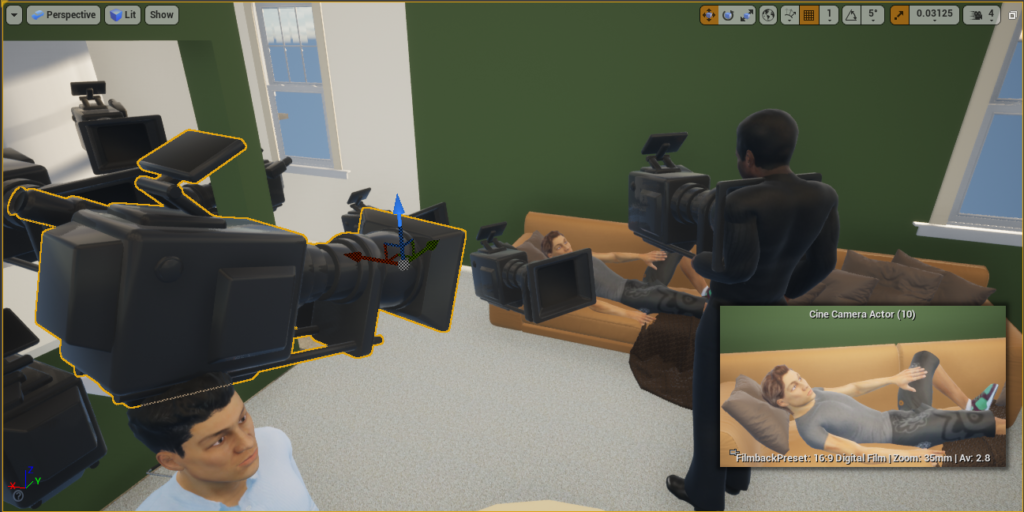
The way I looked at this project was to decide on a few shots to see what different ways I could frame the characters, and what these cameras would add to the scene. Because of real-time rendering and the capabilities of the “cinematic camera” inside Unreal, the camera viewport would give a very accurate depiction of a real camera, and moving this around in the scene was very satisfying, unlike Maya where the in viewport view didn’t look nice at all.
I also have full control over the settings, which is similar to how Maya shows its camera settings and similarly replicates the setting of a real camera. The most notable and obvious are the F stop, Focus distance, and Focal Length. The default is a 35mm lenses that replicate the human eye, and I tended to keep to this shot quite a lot. But I’d find myself using 50mm lenses a lot also to bring aspects of the scene closer together, like making the background character seem larger. If need be though, I would try a wider lens to keep more in the frame.
All the shots took time to move into position, to get it so it was framed properly and looking as meaningful as possible. Here are the most notable shots:
f2.4 35mm
f2.8 35mm
f3 35mm
f1.8 18mm
f2.8 50mm
f3.2 50mm
Then I dragged in the Audio file and got to editing. Like the earlier test, I understood how to view all cameras and edit them together in the camera sequencer. Using a camera cuts track, you can add all the camera shots and very precisely add or take away frames, similar to the camera sequencer built into Maya.
All the camera’s attributes like focus distance and position can be animated with keyframes and works much like After Effects where the keyframes can be added and easily dragged and moved around. There’s also the graph editor which is a nice mixture between the one from After Effects and the one from Maya.
Here are some images from the workflow. I tried using both of my monitors also mid-way through testing.
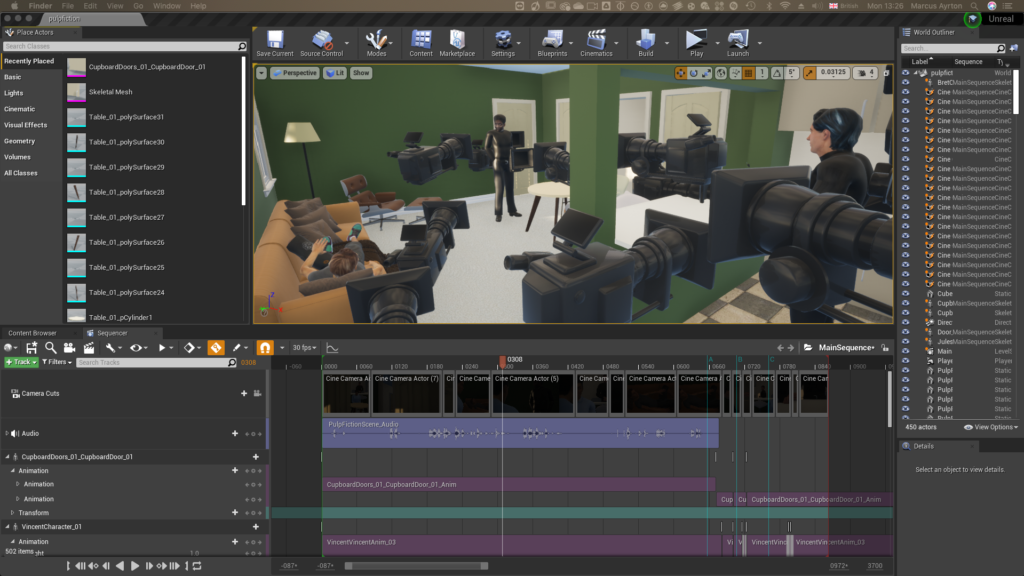
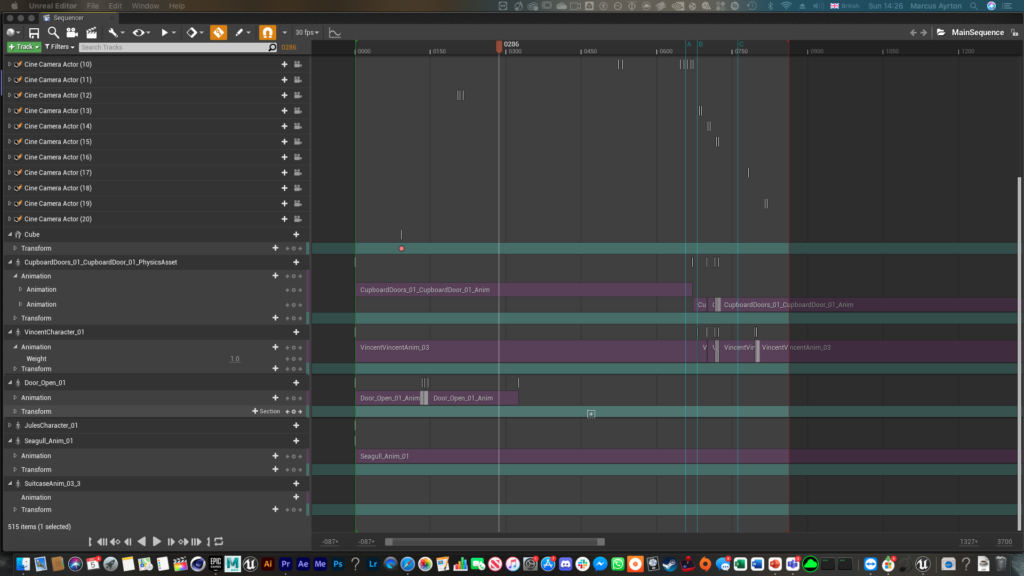
In the viewport, I also had the opportunity to play around with the animation blocks, and retime them slightly. One of the Edgar Wright techniques I decided to use was his Kinetic “to the beat” Editing technique during the sequence where the character opens the cupboard and takes out the suitcase. It wasn’t perfectly timed in Maya so in this I could perfectly time it so the cuts and the animation actions happened exactly on a repeated timed cut.
All this and other techniques can be seen in my draft of the edit here. Evidently, the suitcase is still not present here because of my import problems, but my use of editing and camera work still can be seen.
Final Edits:
After fixing the suitcase animation, I was very happy with how the sequence turned out. I added the shots I wanted to, and using premiere pro I added back in the audio, re timed it, and also added a vignette to add a more dramatic effect, as I feel the natural lighting created makes the environment too happy. As my objective for this unit wasn’t to focus too much on lighting, I didn’t alter too much inside the engine other than the intensity and position of sunlight.
Here is the final main edit, using Edgar Wright’s kinetic editing techniques, to dramaticise the basic action of getting out the suitcase, whilst also adding an element of comedic timing:
Overall, the fact that I could re create characters, rig them, animate them, create scenery and then render it all in such a short space of time really firms my interest in the pre-vis industry. I felt euphoria from stepping back away from the sequence and realisng I designed characters, rigged them, animated them, and did camera work and editing, realising that although it was all intentionally done in the fastest way possible, I essentially directed a sequence.